


Schools across the country are replacing traditional glass trophy cases with interactive touchscreen electronic trophy case kiosks that bring athletic achievements to life through photos, videos, and searchable content. If you’re planning to implement this technology in your school, this comprehensive guide walks you through every step—from initial planning and hardware selection to software setup, installation, and ongoing maintenance.
Understanding Electronic Trophy Case Kiosks: What They Are and Why Schools Need Them
Before diving into setup procedures, it’s essential to understand what electronic trophy case kiosks are and the specific benefits they provide schools.
What is a Touchscreen Electronic Trophy Case Kiosk?
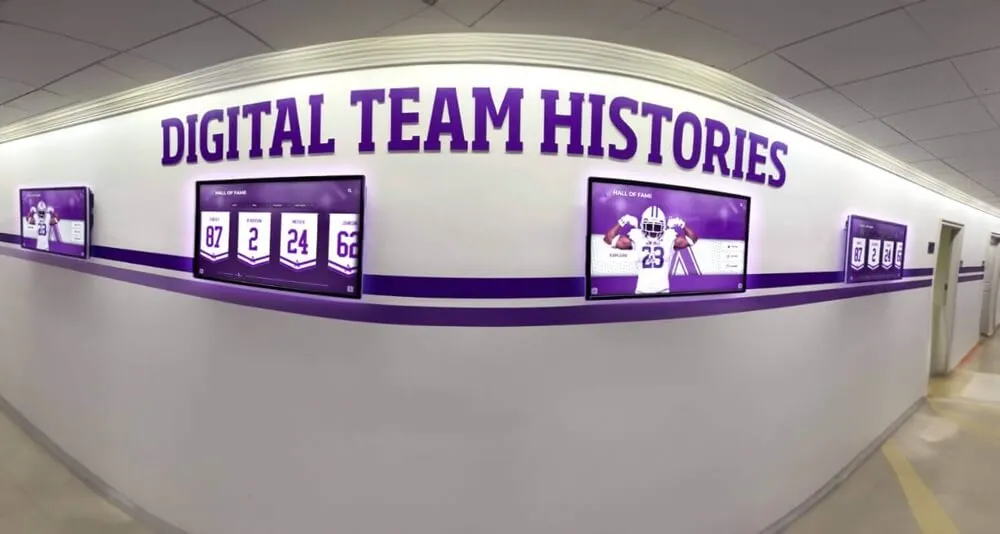
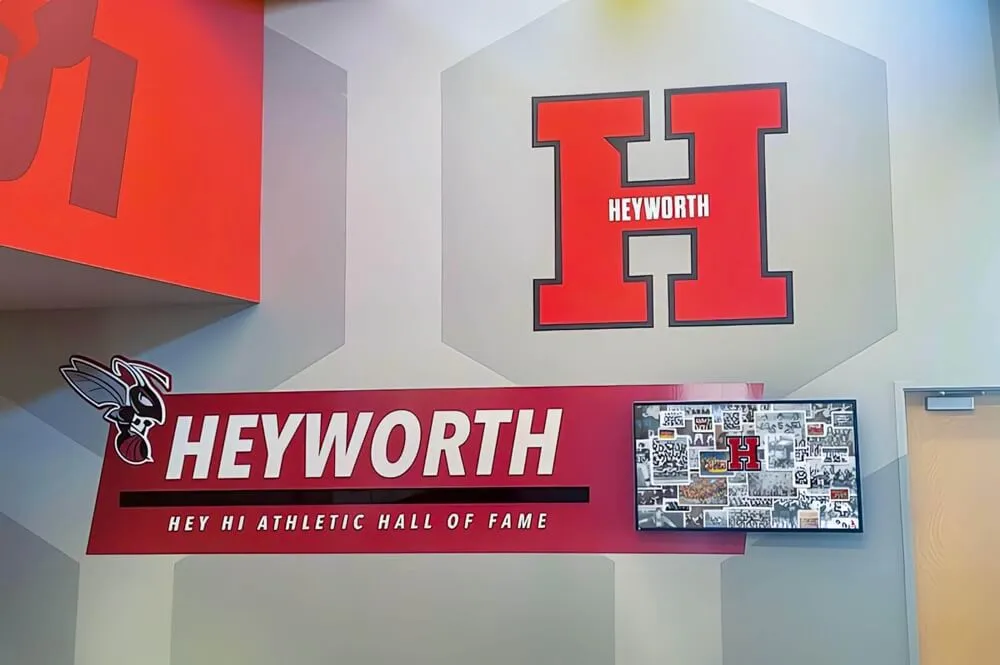
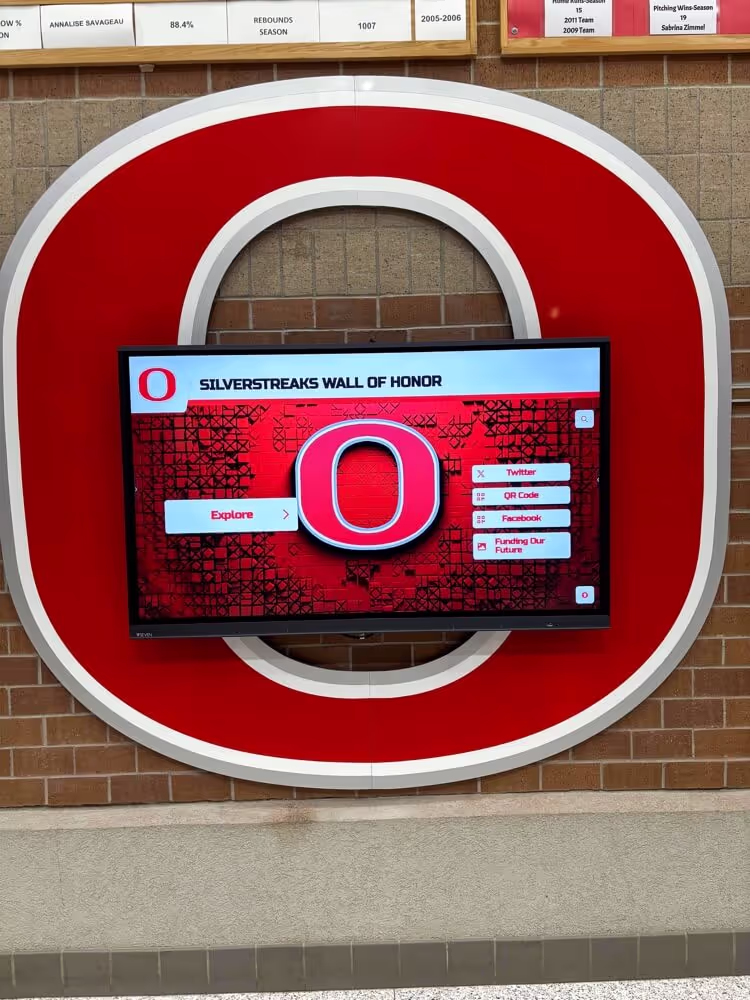
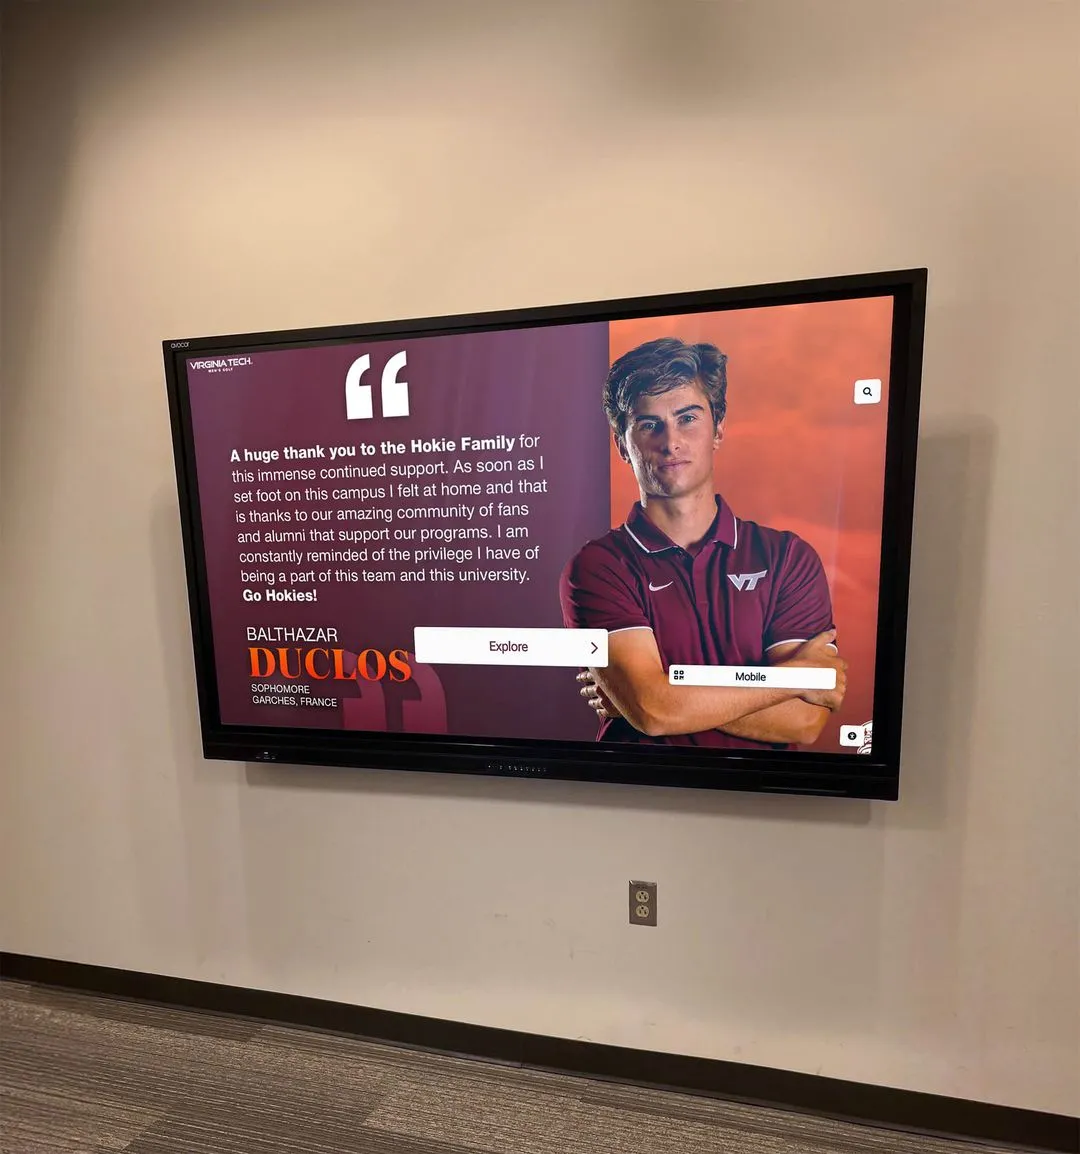
An electronic trophy case kiosk is a digital display system—typically featuring a large touchscreen—that showcases athletic achievements, academic honors, historical photos, and other recognitions in an interactive format. Unlike traditional glass cases with physical trophies, these systems allow schools to:
- Display unlimited achievements without space constraints
- Add photos and videos documenting winning moments
- Enable visitors to search for specific teams, years, or athletes
- Update content instantly without physical rearrangement
- Preserve historical information that might otherwise deteriorate
- Create engaging experiences that capture attention
Why Schools Are Making the Switch
Traditional trophy cases present several limitations that electronic systems address effectively:
Space Limitations: Physical trophy cases fill quickly, forcing schools to remove older achievements to make room for new ones or invest in additional expensive cabinetry. Electronic systems display unlimited content on a single screen.
Limited Context: Physical trophies provide minimal information—typically just what’s engraved on the hardware. Interactive displays tell complete stories with photos from championship games, team rosters, coach information, and historical context.
Maintenance Challenges: Glass cases require regular cleaning, trophies tarnish over time, and physical displays are vulnerable to dust, damage, and deterioration. Digital content remains pristine indefinitely.
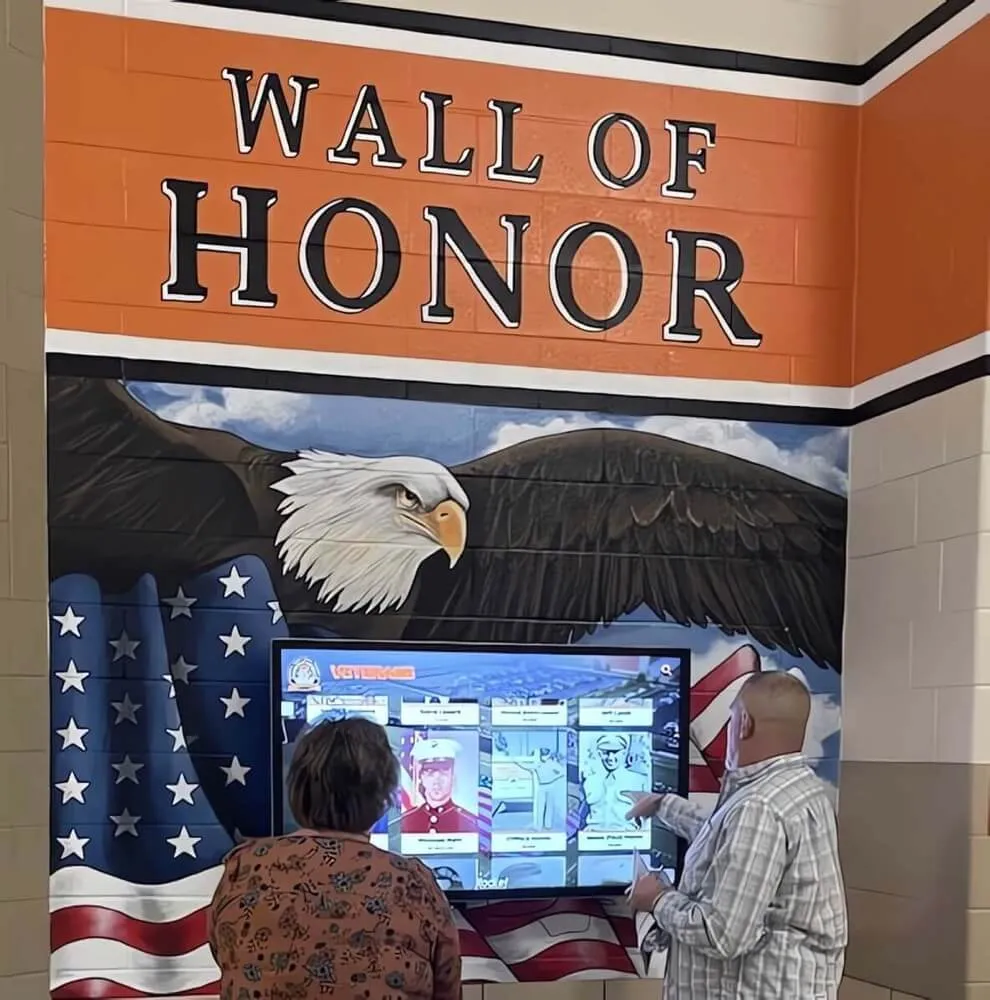
Engagement Gaps: Traditional cases are static—visitors glance at them briefly while passing. Interactive touchscreens invite exploration, with visitors spending several minutes browsing content and sharing discoveries with others.
Update Complexity: Adding new achievements to physical cases requires unlocking cabinets, rearranging existing trophies, and sometimes removing items entirely. Digital updates take minutes and can be done remotely.
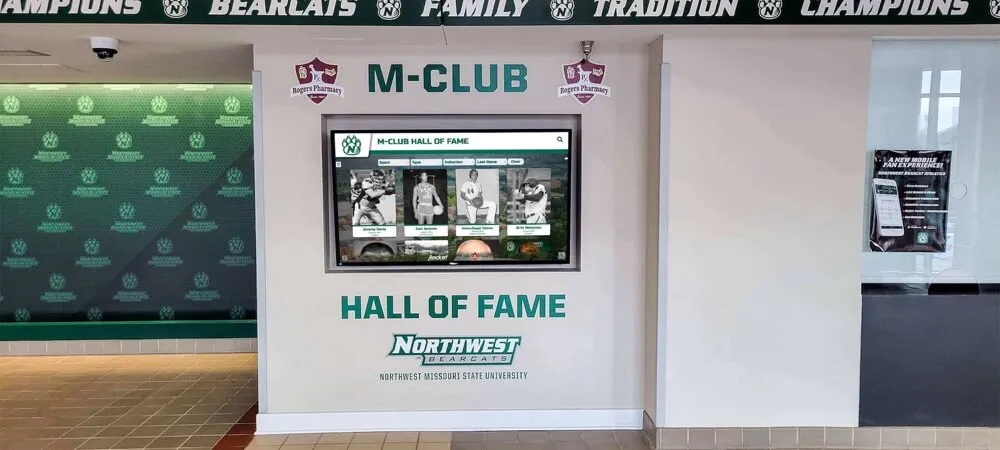
Schools implementing solutions like Rocket Alumni Solutions report that their interactive trophy case kiosks receive far more attention than traditional displays ever did, with students actively exploring historical achievements and feeling greater connection to school traditions.
Planning Your Touchscreen Trophy Case Kiosk Implementation
Successful electronic trophy case installations begin with thorough planning that addresses location, audience needs, content strategy, and budget considerations.
Step 1: Define Your Objectives and Success Criteria
Start by clarifying exactly what you want your electronic trophy case to accomplish:
Primary Objectives:
- Showcase athletic championships and achievements
- Honor individual athlete accomplishments and records
- Preserve school sports history and traditions
- Engage visitors and build school pride
- Create searchable archive of team photos and rosters
- Reduce reliance on limited physical display space
Success Metrics:
- Number of visitors interacting with the display
- Average interaction time per session
- Specific content people access most frequently
- Feedback from students, parents, and visitors
- Reduction in maintenance time compared to traditional cases
- Increased social media engagement with shared content
Clear objectives guide every subsequent decision—from hardware selection to content organization and feature prioritization.
Step 2: Conduct Location Assessment
Where you place your electronic trophy case significantly impacts effectiveness:
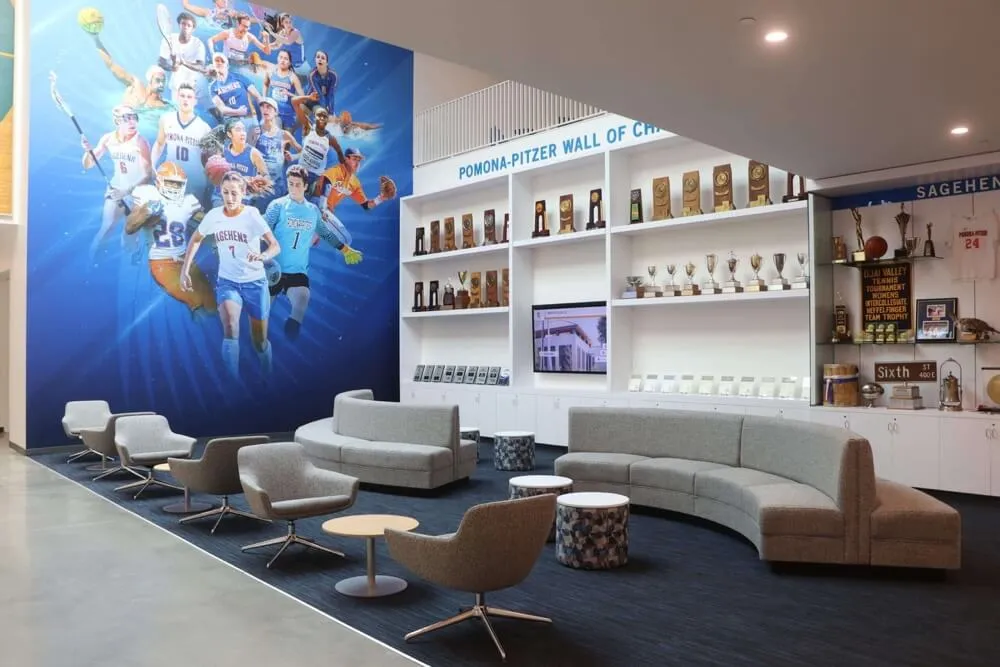
High-Traffic Locations: The best locations receive consistent foot traffic from diverse audiences:
- Main entrance lobbies where visitors first enter the building
- Athletic facility entrances serving game day crowds
- Cafeteria areas where students gather daily
- Hallways connecting gymnasium to main building
- Alumni centers or designated recognition spaces
Environmental Considerations: Evaluate potential locations for practical factors affecting installation and performance:
- Lighting conditions: Avoid direct sunlight hitting the screen, which creates glare and makes viewing difficult
- Wall structure: Confirm walls can support mounting hardware or identify locations for free-standing kiosks
- Power access: Verify electrical outlets are available nearby or budget for electrical work
- Network connectivity: Ensure reliable WiFi or wired network access for remote content updates
- Climate control: Place displays in climate-controlled areas to prevent overheating and hardware damage
- Security: Select locations with natural visibility reducing vandalism risk while considering after-hours access control
Accessibility Requirements: Ensure your installation complies with accessibility standards:
- Mount screens at heights accessible to wheelchair users (typically 15-48 inches from floor to operable components per ADA guidelines)
- Provide clear floor space in front of displays for wheelchair maneuvering
- Consider touchscreen responsiveness for users with limited dexterity
- Include audio options for visually impaired visitors when feasible
Step 3: Determine Budget and Funding
Electronic trophy case systems vary widely in cost depending on scale and features. Develop realistic budget projections covering all implementation phases:
Initial Investment:
- Hardware: $2,000-$10,000+ depending on screen size, touchscreen technology, and mounting solutions
- Software: $500-$5,000 annually for specialized interactive display software, or free/low-cost options
- Installation: $500-$3,000 for professional mounting, electrical work, and network configuration
- Content Development: $1,000-$5,000 for digitizing existing archives, photography, and initial content creation
Ongoing Costs:
- Software subscriptions: Many platforms charge annual fees for hosting and support
- Content updates: Staff time for regular updates or contracted services
- Maintenance: Cleaning supplies, potential repairs, and occasional hardware replacement
- Electricity: Minimal but worth factoring for continuous operation
Funding Sources: Schools successfully fund electronic trophy case projects through:
- Athletic department budgets reallocating funds previously spent on physical trophy purchases
- Booster club donations specifically designated for recognition upgrades
- Alumni association contributions supporting school legacy preservation
- Grants from community foundations supporting educational technology
- Corporate sponsorships where appropriate and allowed by district policy
- Capital improvement budgets during facility renovations
Schools implementing digital recognition solutions often find that the combination of cost savings (no ongoing physical trophy purchases) and enhanced engagement justifies the initial investment within 2-3 years.
Step 4: Assemble Your Implementation Team
Successful projects require coordination across multiple stakeholders:
Essential Team Members:
- Project Lead: Athletic director, technology coordinator, or administrator overseeing overall implementation
- Technical Support: IT staff handling network configuration, security, and ongoing technical maintenance
- Content Manager: Person responsible for organizing existing archives and planning ongoing content updates
- Facilities Staff: Team handling physical installation, mounting, and electrical work
- Stakeholder Representatives: Coaches, boosters, and alumni providing input on content priorities and historical information
Defining Roles and Responsibilities: Clear role definition prevents confusion and gaps:
- Who selects and purchases hardware?
- Who configures software and creates content?
- Who handles day-to-day content updates?
- Who monitors system performance and troubleshoots issues?
- Who manages the budget and approves expenditures?
Hardware Selection: Choosing the Right Components
The hardware foundation of your electronic trophy case determines reliability, user experience, and long-term satisfaction.
Touchscreen Display Selection
The display represents the most visible and expensive component, making selection critical:
Screen Size Considerations:
- 43-50 inches: Suitable for smaller spaces or supplementary displays; good visibility from 6-10 feet
- 55-65 inches: Most popular size for main lobby installations; comfortable viewing from 10-15 feet
- 70-86 inches: Impressive presence for large spaces; visible from 15-20+ feet
- Video wall configurations: Multiple screens tiled together for truly massive installations
Select size based on viewing distance and space available. A common guideline: screen size in inches should be approximately 1/3 of the primary viewing distance in feet (for a 12-foot viewing distance, choose a 48-inch minimum screen).
Touchscreen Technology: Modern touchscreens use two primary technologies, each with distinct characteristics:
Capacitive Touchscreens:
- Respond to light touch from fingers (similar to smartphones)
- Support multi-touch gestures like pinch-to-zoom
- Provide responsive, precise input
- Require bare skin contact (won’t work with gloves)
- More expensive but preferred for sophisticated interactive experiences
- Best for applications with complex navigation and multimedia content
Infrared (IR) Touchscreens:
- Use infrared sensors detecting any object breaking the beam
- Work with fingers, gloves, or stylus
- Support multi-touch capabilities
- Less expensive than capacitive at larger sizes
- Slightly less responsive than capacitive
- Excellent choice for high-traffic school environments
For school trophy case applications, both technologies work well. Capacitive provides slightly better experience, while infrared offers better value at larger screen sizes.
Display Resolution:
- 1080p (Full HD): Adequate for most applications; 1920x1080 pixels provide clear text and images
- 4K (Ultra HD): Increasingly common and recommended; 3840x2160 pixels deliver exceptional clarity for detailed photos and text readability at close distances
- Higher resolution matters more as screen size increases; strongly consider 4K for displays 55 inches and larger
Brightness Requirements:
- 350-500 nits: Sufficient for most indoor locations with controlled lighting
- 500-700 nits: Better for areas with windows or brighter ambient light
- Avoid consumer TVs designed for living rooms; commercial displays offer higher brightness, longer operational ratings, and better warranty terms
Commercial vs. Consumer Displays: Always choose commercial-grade displays over consumer televisions:
- Commercial displays are rated for 16-24 hour daily operation vs. 4-8 hours for consumer TVs
- Commercial warranties cover business use; consumer warranties may be voided by commercial operation
- Commercial displays offer better thermal management for vertical orientation and continuous use
- Mounting options and serviceability are designed for professional installation
For specific guidance on screen selection for recognition displays, review comprehensive information on digital wall of fame screen sizing.
Computing Hardware
The computer driving your touchscreen trophy case processes content and manages interaction:
Integrated vs. External Computer:
- All-in-one displays: Some commercial touchscreens include integrated computers, reducing cable clutter and simplifying installation
- External computers: Separate desktop or mini PC offers more flexibility for upgrades and typically better performance at the same price point
- Recommendation: External computer provides better long-term value for most schools
Minimum Specifications: For smooth operation of interactive trophy case software:
- Processor: Intel i5 (8th generation or newer) or AMD Ryzen 5 equivalent
- RAM: 8GB minimum, 16GB recommended for video-heavy content
- Storage: 256GB SSD minimum for fast boot times; increase if storing extensive local video libraries
- Graphics: Integrated graphics adequate for most applications; dedicated GPU beneficial for 4K video playback or advanced animations
- Connectivity: Multiple USB ports for touchscreen connection, Ethernet port for reliable network access, HDMI output
Form Factor Options:
- Small form factor desktop: Compact systems like Dell OptiPlex Micro or HP EliteDesk Mini mount behind displays or in nearby cabinets
- Ruggedized fanless computers: Passively cooled systems (no fans) reduce noise and eliminate fan failure risk; excellent for always-on operation
- Windows vs. Chrome OS vs. Android: Windows offers broadest software compatibility; Chrome OS works well for web-based applications; Android suits dedicated app-based systems
Mounting Solutions
How you mount or position your display affects both aesthetics and functionality:
Wall-Mount Options:
- Fixed mounts: Hold display flat against wall; simple and affordable but no adjustment after installation
- Tilting mounts: Allow slight downward angle improving viewing from below; useful for displays mounted above eye level
- Articulating mounts: Enable both tilt and swivel; most expensive but offer maximum positioning flexibility
Ensure your mount:
- Supports your display’s size and weight (with safety margin)
- Attaches to wall studs or uses appropriate anchors for wall type
- Provides access to power button and connections for service
- Positions screen at appropriate height for your audience
Free-Standing Kiosk Enclosures: When wall mounting isn’t practical, free-standing kiosks provide excellent alternatives:
- Motorized height-adjustable stands: Adapt to wheelchair users and standing visitors alike
- Secure lockable enclosures: Protect hardware from tampering in high-traffic areas
- Integrated cable management: Conceal power and data cables for professional appearance
- Stable base design: Prevent tipping in busy environments
Several manufacturers offer purpose-built interactive touchscreen kiosks designed specifically for recognition displays, combining display, computer, and secure enclosure in turnkey packages.
Schools partnering with Displays2Go through Rocket Alumni Solutions can access complete hardware packages optimized for educational recognition applications.
Supporting Components
Don’t overlook these important elements of your system:
Network Infrastructure:
- Wired Ethernet connection preferred: More reliable than WiFi for displays that update regularly
- WiFi acceptable: If strong signal confirmed at installation location; use 5GHz band if possible for better bandwidth
- Network security: Ensure display operates on appropriate network segment with necessary access permissions
Power Management:
- Surge protection: Use quality surge protectors to prevent damage from power fluctuations
- Battery backup (UPS): Optional but recommended for graceful shutdown during power outages
- Power scheduling: Consider smart outlets enabling automatic on/off schedules to extend hardware life and save energy
Audio Components:
- Built-in speakers: Adequate for basic audio needs
- External speakers: Provide better sound quality for video content; important in noisy environments
- Headphone jack: Enables audio access without disturbing nearby activities
Peripherals:
- Keyboard and mouse: Keep available for system maintenance and content updates
- Remote control: Some systems support remote controls for basic functions
- Content update station: Consider dedicated computer for staff to prepare and upload content
Software Selection and Configuration
The software platform determines how content is organized, how users interact with it, and how easily you can make updates.
Evaluating Interactive Display Software Options
Schools can choose from several software approaches:
Purpose-Built Recognition Display Software: Specialized platforms designed specifically for showcasing achievements:
- Pre-designed templates for athletic accomplishments, academic honors, and historical timelines
- Intuitive content management interfaces designed for non-technical users
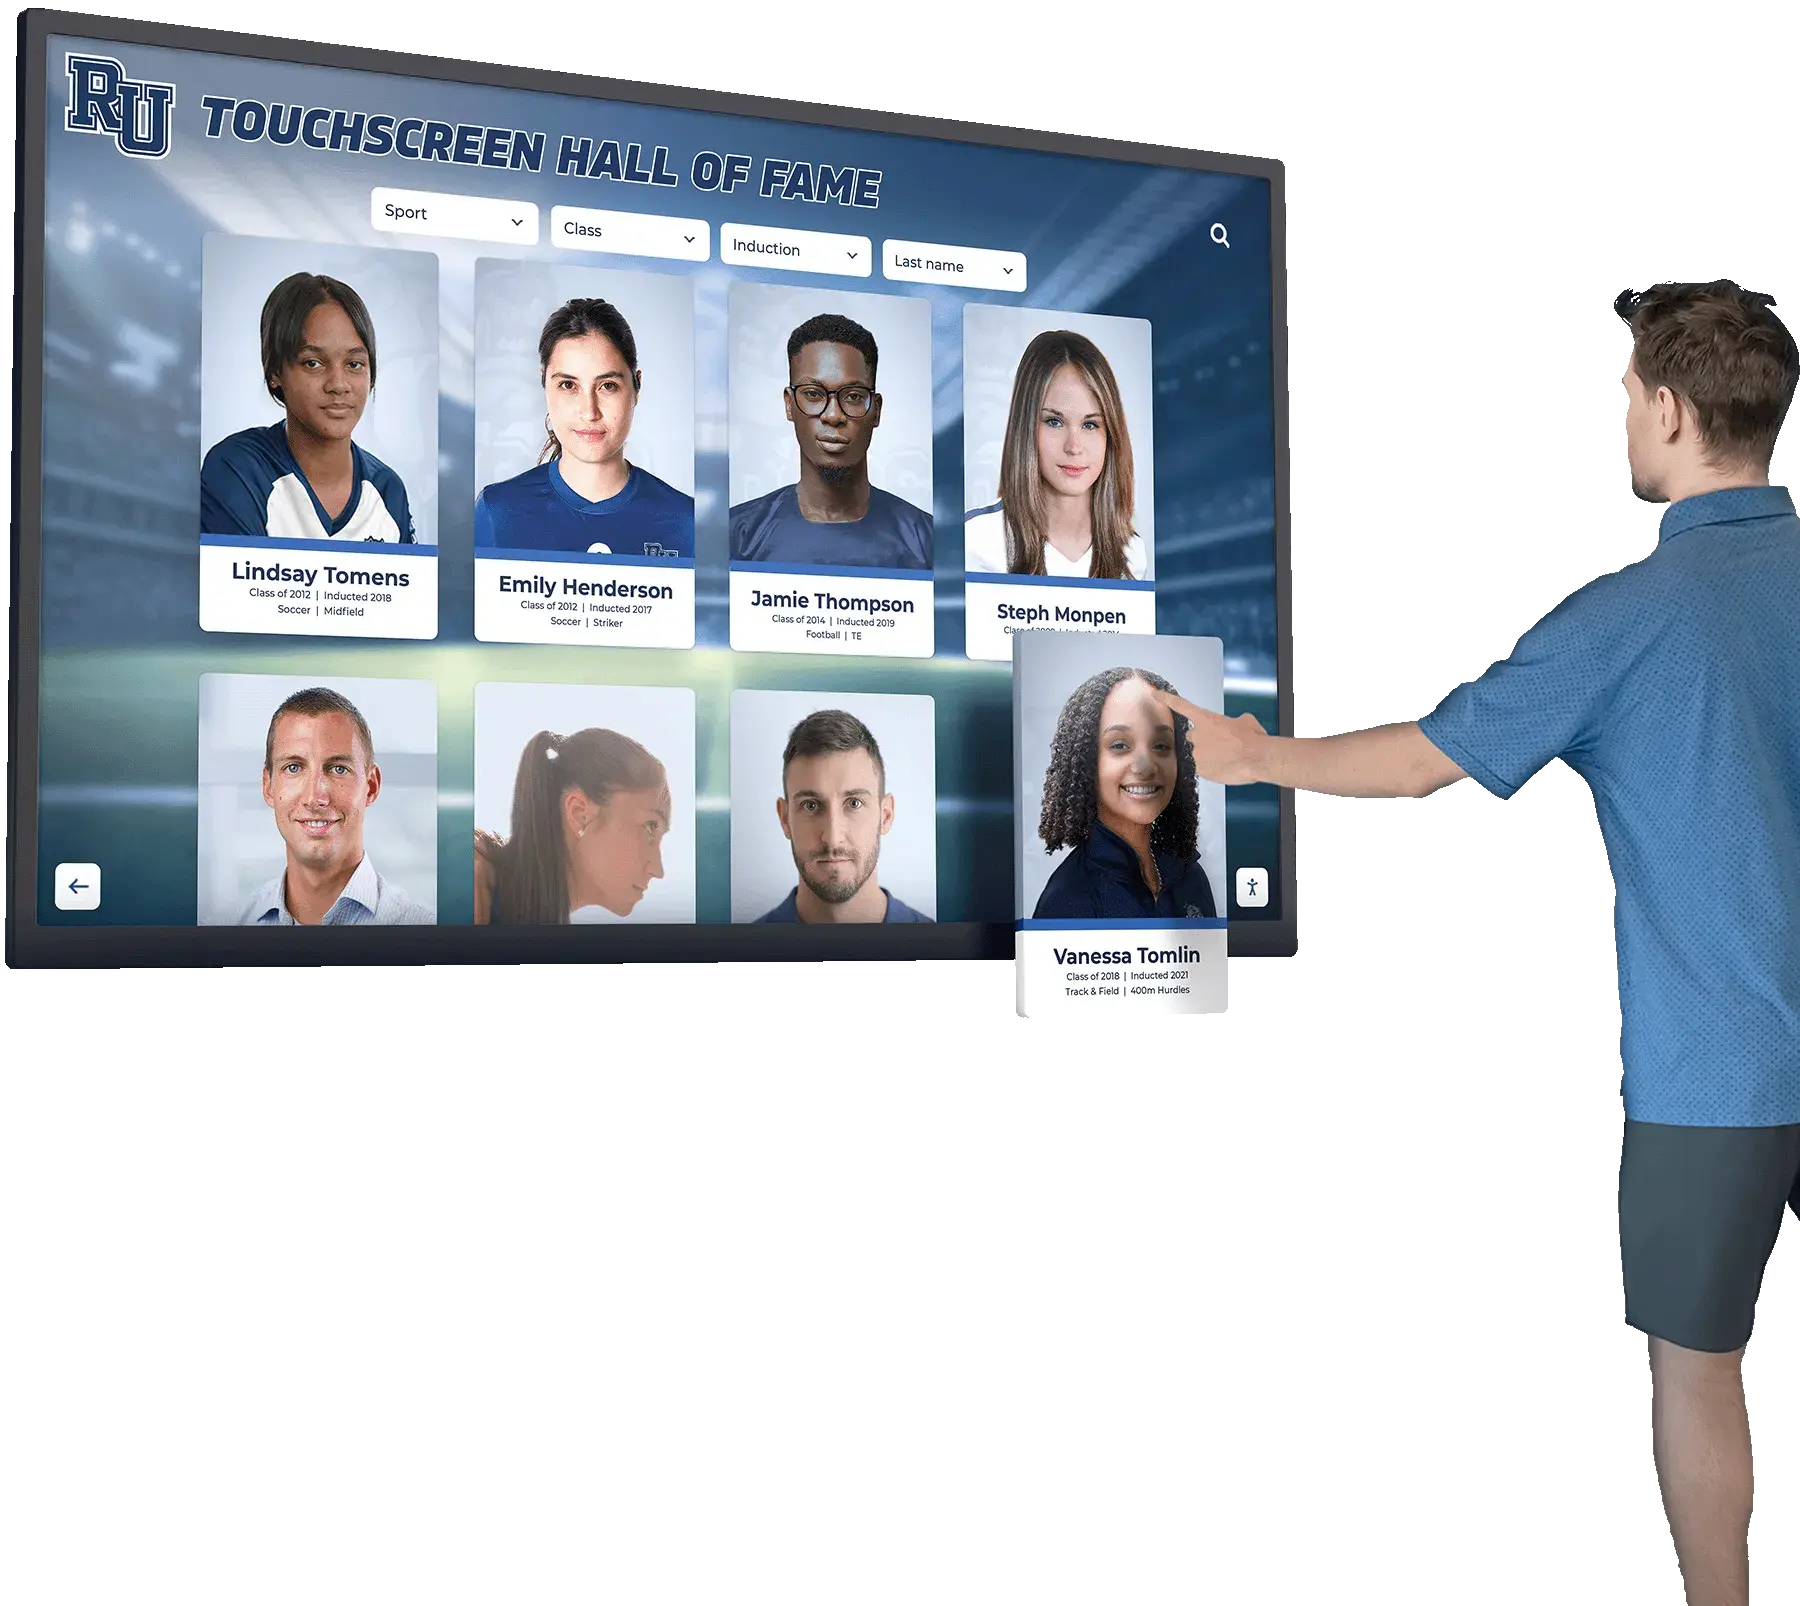
- Built-in search and filtering features enabling visitors to find specific content easily
- Automatic slideshow modes when no one is actively interacting
- Mobile app integration allowing visitors to explore content on personal devices
Solutions like Rocket Alumni Solutions provide:
- Cloud-based content management accessible from any device
- Professional templates specifically designed for schools
- Simple update workflows requiring no technical expertise
- Reliable hosting and automatic software updates
- Technical support from recognition display specialists
For schools seeking free or open-source alternatives, explore free wall of fame touchscreen options, though these typically require more technical expertise to implement and maintain.
Digital Signage Platforms: Commercial digital signage software can be adapted for interactive use:
- Advantages: Mature platforms with extensive features, scheduling capabilities, and multi-display management
- Disadvantages: Not optimized for interactive touchscreen experiences; may require customization for trophy case use cases
- Examples: Screenly, Xibo, Rise Vision, or commercial platforms like Carousel Digital Signage
Custom Web Applications: Technology-proficient schools might build custom solutions:
- Advantages: Complete customization and control; no ongoing software subscriptions
- Disadvantages: Requires significant development expertise; ongoing maintenance responsibility; security vulnerabilities if not properly maintained
- Approach: HTML, CSS, and JavaScript-based web applications running in fullscreen kiosk mode
Key Software Features to Prioritize
Regardless of platform choice, ensure your software provides:
Essential Features:
- Touch-optimized interface: Large buttons, clear navigation, and responsive controls designed for finger input
- Search functionality: Enable visitors to find specific athletes, teams, years, or sports quickly
- Media support: Display photos and videos documenting achievements
- Automatic screensaver mode: Attract attention when no one is actively using the display
- Content organization: Logical categorization by sport, year, achievement type, or custom categories
- Easy content updates: Intuitive interfaces enabling non-technical staff to add and edit content
Valuable Advanced Features:
- Analytics: Track what content visitors view most frequently, informing future content decisions
- Multi-language support: Serve diverse school communities
- Accessibility features: Screen reader compatibility, adjustable text size, high-contrast modes
- Social media integration: Display live feeds from school athletic social media accounts
- Donor recognition: Combined trophy case and donor wall functionality for comprehensive recognition
- QR code generation: Create scannable codes linking to specific content for sharing
Technical Requirements:
- Kiosk mode operation: Lock down the system preventing access to underlying operating system
- Remote management: Update content without physically accessing the display
- Offline capability: Continue operating if network connectivity is temporarily lost
- Automatic recovery: Restart software automatically if crashes occur
- Security: Protect against unauthorized access and prevent security vulnerabilities
For detailed evaluation of software options, consult comprehensive touchscreen kiosk software buying guides comparing features, pricing, and suitability for different applications.
Software Configuration Best Practices
Once you’ve selected your platform, proper configuration ensures optimal performance:
Kiosk Mode Setup: Configure the operating system to boot directly into your trophy case software:
- Disable desktop access and system menus
- Prevent users from exiting the application
- Hide taskbars, notification areas, and system tray icons
- Disable keyboard shortcuts that could exit kiosk mode
- Configure automatic application restart if software crashes
Detailed instructions for creating fullscreen kiosk applications help implement these security measures.
Touch Interaction Optimization: Configure touch behavior for public kiosk environments:
- Disable pinch-to-zoom gestures that could break layouts or confuse users
- Implement on-screen keyboards for search functionality without requiring physical keyboard
- Set appropriate touch sensitivity avoiding accidental activation
- Configure timeout periods returning to screensaver after inactivity (typically 30-60 seconds)
Content Organization Structure: Design logical navigation hierarchies:
- By Sport: Football, basketball, volleyball, etc.
- By Year: Current year through historical decades
- By Achievement Type: Championships, records, individual honors
- By Gender: Boys’ and girls’ programs
- Featured Content: Highlight recent additions or historically significant achievements
Performance Optimization:
- Optimize images to appropriate resolutions (usually 1920x1080 or 3840x2160) rather than displaying unnecessarily large files
- Convert videos to web-optimized formats (H.264 MP4 recommended)
- Limit simultaneous video playback if system resources are constrained
- Test performance with full content library before deployment
Content Development: Bringing Your Trophy Case to Life
The most sophisticated hardware and software mean little without compelling content. Developing rich, engaging materials requires systematic effort.
Phase 1: Content Inventory and Digitization
Begin by cataloging existing recognition materials:
Physical Trophy Audit:
- Photograph all existing trophies, plaques, and awards
- Record information from each item: sport, year, achievement type, team members, coaches
- Note condition and historical significance
- Decide which physical items remain on display and which transition entirely to digital
Archive Discovery: Search your school for historical materials often forgotten in storage:
- Old team photos from athletic department files
- Yearbook archives (many contain extensive sports coverage)
- Newspaper clippings from local coverage of championships
- Game programs and schedules
- Coaching records and statistics
- Alumni submissions of historical photos and memorabilia
Digitization Process: Convert physical materials to digital formats:
- Photograph trophies: Use neutral backgrounds, consistent lighting, and high resolution (minimum 3000 pixels on longest dimension)
- Scan documents: 300 DPI minimum for text legibility when displayed
- Digitize video: Convert historical VHS tapes, DVDs, or film footage if available
- Organize files: Use consistent naming conventions (e.g., “1998-Football-State-Championship-Trophy.jpg”)
Many schools discover far more historical content than anticipated. Digital asset management strategies help organize these materials systematically.
Phase 2: Content Creation and Enhancement
Transform raw materials into engaging display content:
Write Descriptive Narratives: Go beyond basic facts to tell compelling stories:
- Championship context: What made this season special? How did the team overcome challenges?
- Individual achievements: Highlight personal records with career statistics and memorable moments
- Coach spotlights: Honor coaches who built successful programs with win-loss records and philosophy
- Historical significance: Explain how achievements fit into school traditions and legacy
Gather Supplementary Content: Enhance basic achievement listings with richer materials:
- Game highlights: Video clips from championship games or record-breaking performances
- Team photos: Roster photos showing all team members
- Action shots: Game photos capturing the excitement of competition
- Quotes: Statements from athletes, coaches, or news coverage
- Statistics: Season records, tournament results, individual statistics
Design Visual Consistency: Create cohesive visual identity across content:
- Use school colors, logos, and branding consistently
- Apply consistent templates for different content types
- Maintain readable text sizes appropriate for display viewing
- Choose fonts that are legible from distance
Schools managing content for multiple recognition displays benefit from digital asset management systems for schools centralizing photo libraries, templates, and brand standards.
Phase 3: Content Organization and Entry
Structure content logically within your software platform:
Categorization Strategy: Organize content according to how visitors will search:
- Primary category: Sport
- Secondary category: Year or decade
- Tertiary category: Achievement type (championship, individual record, team record)
- Tags: Additional descriptors enabling multiple search paths
Metadata Completeness: Include comprehensive information for each entry:
- Required fields: Title, sport, year, achievement type, photo
- Recommended fields: Description, team roster, coach names, opponent information, location, date
- Optional fields: Video highlights, newspaper clippings, related achievements, alumni updates
Quality Control Process: Before finalizing content, verify:
- Spelling and grammar in all descriptions
- Accuracy of dates, names, and statistics
- Image quality and orientation
- Video playback functionality
- Link functionality if external content is referenced
Phase 4: Ongoing Content Planning
Your electronic trophy case should be a living system that grows continuously:
Regular Update Cycles: Establish schedules for different update types:
- Immediate updates: New championships, records broken during current season
- Seasonal updates: End-of-season team photos and season summaries
- Annual updates: Senior athlete highlights, coaching changes, historical content discoveries
Content Calendar: Plan feature content highlighting different programs throughout the year:
- Feature current season sports prominently during their active periods
- Highlight historical achievements during anniversaries
- Spotlight graduating seniors during spring season
- Celebrate coaching milestones and program anniversaries
Community Contributions: Engage broader school community in content development:
- Invite alumni to submit historical photos and memories
- Ask coaches to provide season highlights and statistics
- Encourage students to research and write about historical achievements
- Welcome booster club support for content development efforts
Comprehensive content planning strategies for digital recognition displays ensure your trophy case remains fresh and engaging year after year.
Installation Process: Step-by-Step Setup
With hardware selected, software configured, and initial content prepared, you’re ready for physical installation.
Pre-Installation Preparation
Final Location Verification: Before installation day, confirm:
- Electrical outlet location and functionality
- Network connectivity (wired or verified WiFi signal strength)
- Wall structure capable of supporting weight
- Appropriate mounting height (typically 40-50 inches from floor to center of display)
- Clearance from obstacles and adequate viewing space
Gather Necessary Tools and Materials:
- Power drill and appropriate bits for wall type
- Stud finder for locating wall studs
- Level for ensuring straight mounting
- Screwdriver set
- Cable management materials (conduit, cable covers, or in-wall routing)
- Mounting hardware (often included with mount purchase)
- Surge protector or UPS
- Cleaning supplies for final preparation
Coordinate Stakeholders: Schedule installation with appropriate personnel:
- Facilities staff for physical mounting and electrical work
- IT staff for network configuration and system setup
- Administrator or project lead for oversight and approval
Physical Installation Steps
Step 1: Mount Display or Position Kiosk
For wall-mounted displays:
- Locate wall studs using stud finder
- Mark mounting bracket positions ensuring level alignment
- Drill pilot holes at marked positions
- Secure mounting bracket to wall studs with appropriate screws
- Attach display mounting plate to back of screen per manufacturer instructions
- Lift display and attach to wall bracket (usually requires two people)
- Verify secure attachment and level positioning
- Route power and data cables using cable management solutions
For free-standing kiosks:
- Unpack and assemble kiosk enclosure per manufacturer instructions
- Install display within enclosure mounting frame
- Install computer in designated compartment
- Position kiosk in selected location
- Level and stabilize base (adjustable feet typically included)
- Route cables within enclosure cable channels
Step 2: Connect and Configure Computer
- Mount or position computer (behind display, in cabinet, or within kiosk enclosure)
- Connect computer to display via HDMI cable
- Connect touchscreen USB cable from display to computer
- Connect Ethernet cable to computer (or verify WiFi connectivity)
- Plug computer and display into surge protector or UPS
- Power on display and computer
Step 3: Operating System and Software Setup
- Complete initial operating system setup (Windows, Chrome OS, etc.)
- Configure network connectivity and verify internet access
- Install any necessary display drivers
- Configure operating system for kiosk use:
- Disable sleep mode and screen savers
- Set to boot automatically after power loss
- Configure user accounts with appropriate permissions
- Disable system notifications and pop-ups
- Install your interactive trophy case software
- Configure software for your content and preferences
- Upload initial content library
- Test all functionality before finalizing setup
Step 4: Touchscreen Calibration
Most modern touchscreens work immediately, but calibration ensures accuracy:
- Access touchscreen calibration utility (in Windows: search “Calibrate the screen for pen or touch input”)
- Follow on-screen instructions touching specified points
- Save calibration settings
- Test touch responsiveness across entire screen surface
- Verify multi-touch gestures work properly if applicable
Step 5: Kiosk Mode Configuration
Lock down the system for public use:
- Configure operating system to automatically log in specific user account at startup
- Set trophy case software to launch automatically at login
- Enable fullscreen/kiosk mode in software settings
- Test that users cannot access desktop, file system, or system settings
- Disable keyboard shortcuts that could exit application (Windows Key, Alt-Tab, Alt-F4, Ctrl-Alt-Delete)
- Configure automatic restart schedules if needed (typically daily during off-hours)
Many touchscreen kiosk software platforms include built-in kiosk mode features simplifying this configuration.
Testing and Validation
Before declaring installation complete, thoroughly test all functionality:
User Experience Testing:
- Navigate through all content categories and sections
- Test search functionality with various queries
- Play video content and verify audio quality
- Verify return-to-home functionality after inactivity
- Test touch responsiveness across screen areas
- Confirm text readability from expected viewing distances
Technical Validation:
- Verify network connectivity and content update capability
- Test remote management functionality if applicable
- Confirm automatic startup after power loss
- Monitor system temperature after extended operation
- Verify no error messages or warnings appear
- Test recovery from simulated crashes or freezes
Stakeholder Review:
- Demonstrate functionality to project team and administrators
- Gather feedback on usability and content organization
- Make any necessary adjustments based on initial impressions
- Document any issues requiring future attention
Training Content Managers
Even with intuitive software, proper training ensures successful ongoing management:
Initial Training Session: Provide hands-on instruction covering:
- How to log into content management system
- Adding new achievements with photos and descriptions
- Editing existing content
- Organizing content into appropriate categories
- Publishing updates to live display
- Basic troubleshooting of common issues
Training Documentation: Create simple reference guides:
- Step-by-step instructions with screenshots for common tasks
- Contact information for technical support
- Troubleshooting checklist for common problems
- Content standards and style guidelines
- Scheduled maintenance procedures
Ongoing Maintenance and Content Management
Installation completion is just the beginning. Successful electronic trophy cases require consistent attention.
Regular Maintenance Schedule
Daily Tasks:
- Check that display is powered on and functioning (quick visual inspection)
- Clean fingerprints and smudges from touchscreen surface
- Verify content displays correctly without errors
Weekly Tasks:
- Thoroughly clean touchscreen with appropriate cleaning solution
- Verify network connectivity and remote access functionality
- Review any usage analytics if available
- Check for software updates or notifications
Monthly Tasks:
- Inspect all cables and connections for security and wear
- Verify proper operation of audio components
- Test all interactive features systematically
- Review content for accuracy and relevance
- Add recent achievements and update featured content
Quarterly Tasks:
- Deep clean display including frame and surrounding area
- Review and install software updates
- Verify backup systems if applicable
- Analyze content engagement data and adjust organization if needed
- Conduct stakeholder satisfaction survey
Annual Tasks:
- Comprehensive system inspection and maintenance
- Review and update content strategy
- Evaluate need for hardware or software upgrades
- Budget planning for ongoing costs
- Professional cleaning of internal components if accessible
Detailed maintenance and troubleshooting guides for digital recognition displays provide comprehensive maintenance protocols.
Content Update Workflows
Establish systematic processes for keeping content current:
New Achievement Workflow:
- Athletics department notifies content manager of achievement (championship, record, etc.)
- Content manager requests supporting materials (team photo, roster, game details)
- Content manager creates content entry in system
- Review by athletic director or administrator if required
- Publish to live display
- Announce update via school communications channels
Seasonal Update Workflow: At conclusion of each sport season:
- Compile final season statistics and achievements
- Obtain team photo and complete roster
- Create season summary content
- Archive individual game/match results if tracked
- Update current season features to showcase active sports
- Feature graduating seniors during spring season
Historical Content Addition: As historical materials are discovered:
- Digitize materials using established procedures
- Research context and gather complete information
- Create content entries with appropriate categorization
- Cross-reference with existing content for connections
- Feature newly added historical content to announce additions
Troubleshooting Common Issues
Problem: Touchscreen Not Responding
- Verify: USB connection between display and computer is secure
- Try: Restarting the computer
- Check: Device Manager (Windows) or System Settings to confirm touchscreen recognized
- Recalibrate: Run touchscreen calibration utility
- Contact: Hardware vendor if issue persists
Problem: Display Shows No Signal
- Verify: HDMI cable connection at both ends
- Try: Different HDMI cable to rule out cable failure
- Check: Computer is powered on and booted successfully
- Test: Display with different input source to isolate issue
- Update: Graphics drivers on computer
Problem: Software Crashes or Freezes
- Restart: Software application
- Verify: Computer meets minimum system specifications
- Check: Available storage space (low disk space causes issues)
- Review: Error logs for specific error messages
- Update: Software to latest version
- Contact: Software vendor support team
Problem: Content Not Updating
- Verify: Network connectivity from display computer
- Check: Content management system shows successful publish
- Confirm: Display is pointing to correct content source
- Clear: Browser cache if using web-based display software
- Restart: Display system to force update check
Problem: Audio Not Working
- Check: Volume level on computer and display
- Verify: Audio output device selected correctly in system settings
- Test: Audio with headphones to isolate speaker vs. system issue
- Inspect: Audio cable connections if using external speakers
- Update: Audio drivers on computer
Performance Optimization
Over time, optimize system performance:
Content Optimization:
- Regularly review and archive old content no longer frequently accessed
- Optimize image file sizes while maintaining quality
- Convert videos to web-optimized formats reducing loading times
- Remove duplicate or redundant content entries
System Optimization:
- Run disk cleanup utilities monthly
- Defragment drives if using traditional hard drives (not needed for SSDs)
- Review and remove unnecessary startup programs
- Update operating system and drivers regularly
- Monitor system resource usage identifying bottlenecks
Software Updates: Stay current with software releases:
- Enable automatic updates if available and reliable
- Review release notes understanding new features and fixes
- Test updates in off-peak hours initially
- Maintain backup of working configuration before major updates
Advanced Features and Enhancements
Once your basic electronic trophy case operates reliably, consider enhancements that increase engagement and functionality.
Mobile Companion Experiences
Extend your trophy case beyond the physical display:
QR Code Integration: Place QR codes near the display or throughout the facility linking to specific content:
- Scan code to explore content on personal devices
- Share favorite achievements via social media
- Access extended content not displayed on kiosk
- View content remotely for alumni and distant community members
Mobile-Responsive Website: Ensure your trophy case content is accessible via mobile browsers:
- Responsive design adapting to different screen sizes
- Touch-friendly navigation optimized for small screens
- Fast loading on cellular networks
- Social sharing buttons for spreading school pride
Mobile App Integration: Some touchscreen software platforms offer companion mobile apps providing synchronized experiences.
Social Media Integration
Connect your trophy case to school social media presence:
Live Feed Display: Show recent posts from school athletic social media accounts:
- Twitter/X feed showing latest game results and announcements
- Instagram gallery featuring recent photos
- Facebook posts from booster club or athletic department
- Automatic updates without manual content entry
Social Sharing Features: Enable visitors to share content from the display:
- “Share this achievement” buttons creating social posts
- Automatic generation of shareable graphics
- Hashtag suggestions promoting school athletic programs
- QR codes linking to specific achievements for easy sharing
Analytics and Insights
Understanding how visitors use your trophy case informs content decisions:
Usage Metrics: Track valuable interaction data:
- Total daily interactions and usage patterns by time
- Most viewed sports, teams, and achievements
- Average interaction duration
- Search terms visitors use most frequently
- Content that receives minimal attention (candidates for removal or reorganization)
Reporting Dashboards: Generate reports showing:
- Trends over time in usage patterns
- Comparative popularity across sports or achievement types
- Success of featured content promotions
- Recommendations for content optimization
Data-Driven Content Strategy: Use analytics to inform decisions:
- Feature popular sports more prominently
- Add more content for highly-engaged categories
- Reorganize navigation based on search patterns
- Remove or archive content receiving no engagement
- Time content updates to match peak usage periods
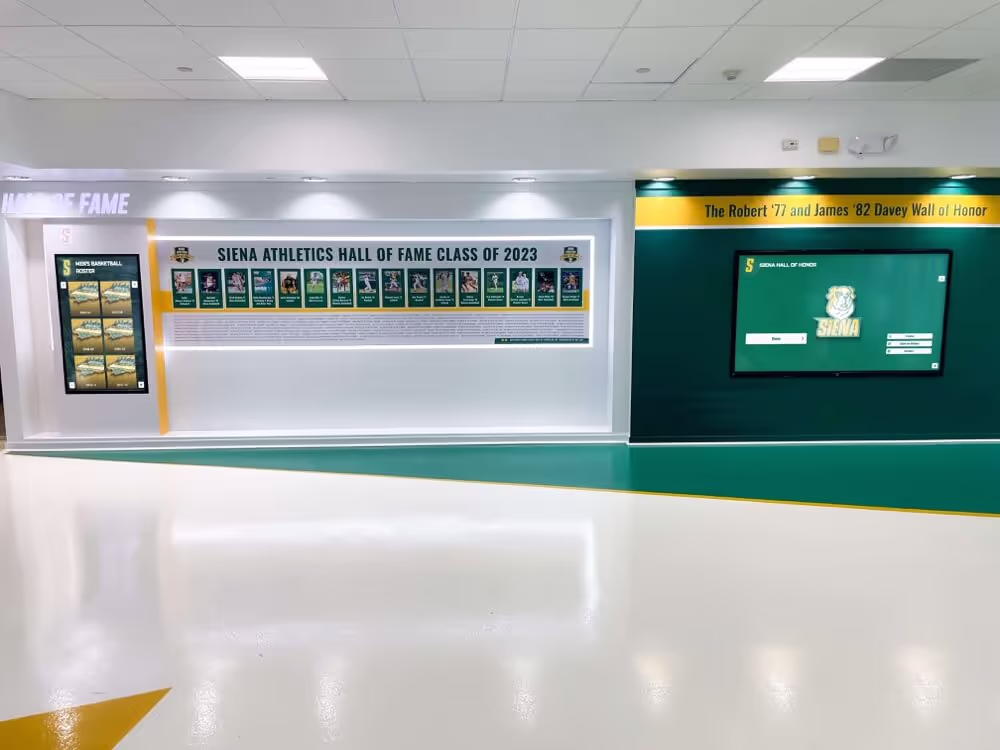
Multi-Display Integration
Schools with multiple displays coordinate content effectively:
Network of Displays:
- Main lobby display showing all athletic achievements
- Gymnasium display focused on specific sport or current season
- Athletic department offices featuring focused content
- Alumni center showcasing historical achievements
Content Synchronization:
- Central content management serving all displays
- Display-specific content filtering and organization
- Coordinated updates across entire network
- Consistent branding and user experience
Location-Specific Content: Tailor content to display location:
- Feature sport-specific content in relevant facilities (football in stadium, basketball in gym)
- Show different content during different seasons
- Highlight relevant achievements for specific audiences
Accessibility Enhancements
Make your trophy case accessible to all visitors:
Visual Accessibility:
- High-contrast display modes for low vision users
- Adjustable text sizes
- Clear, readable fonts
- Sufficient color contrast ratios
- Alternative text descriptions for images
Audio Accessibility:
- Text-to-speech narration of content
- Audio descriptions for visual content
- Headphone jacks for private listening
- Adjustable volume controls
Physical Accessibility:
- Displays positioned at wheelchair-accessible heights
- Clear floor space for maneuvering
- Reachable touchscreen areas within ADA-specified ranges
- Alternative input methods if fine motor control challenging
Comprehensive digital wall of fame accessibility considerations ensure inclusive design.
Integration with Other School Systems
Connect your trophy case to broader school technology:
Student Information Systems: Pull athletic participation data automatically reducing manual entry
Sports Management Software: Import statistics, schedules, and rosters from systems like athletic management platforms
Website Content Management: Share content between trophy case display and school website
Digital Signage Networks: Coordinate messaging across multiple display types
Measuring Success and ROI
Evaluate whether your electronic trophy case delivers expected value.
Quantitative Metrics
Engagement Measurements:
- Number of daily interactions
- Average interaction duration
- Peak usage times and patterns
- Content views by category
- Search query volume
Technical Performance:
- System uptime percentage
- Average response time for interactions
- Update reliability
- Technical support incidents
- Maintenance costs vs. budget
Content Metrics:
- Content additions per month
- Coverage across sports and time periods
- Time required for content updates
- User-generated content contributions
Qualitative Assessment
Stakeholder Feedback: Gather input from various audiences:
- Student reactions and usage patterns
- Parent and visitor comments
- Alumni engagement and interest
- Coach and staff satisfaction
- Administrative assessment of value
Cultural Impact: Assess broader effects on school culture:
- Increased awareness of athletic history
- Greater pride in school traditions
- Enhanced visitor experience during tours
- Improved recruitment of prospective students
- Strengthened alumni connection
Comparative Analysis: Evaluate improvement over previous recognition methods:
- Increased visibility vs. traditional trophy cases
- Reduced maintenance requirements
- Greater content accessibility
- Improved ability to honor all achievements
- Space efficiency gains
Return on Investment
Calculate tangible and intangible ROI:
Cost Savings:
- Reduced physical trophy purchases
- Eliminated trophy case construction and expansion
- Decreased maintenance labor
- Space reallocation value
Value Creation:
- Enhanced school reputation and perception
- Increased alumni engagement supporting fundraising
- Improved student recruitment outcomes
- Strengthened school culture and pride
- Preserved institutional history and traditions
Most schools implementing digital recognition solutions like Rocket Alumni Solutions report that the combination of cost savings, enhanced engagement, and cultural impact justifies initial investment within 2-3 years, with ongoing value continuing to accumulate indefinitely.
Avoiding Common Pitfalls
Learn from challenges other schools have encountered:
Pitfall: Insufficient Planning
- Problem: Rushing into hardware purchase without comprehensive planning
- Impact: Wrong hardware selection, poor locations, missing requirements
- Prevention: Follow systematic planning process outlined earlier; involve all stakeholders; document requirements thoroughly
Pitfall: Neglecting Content Development
- Problem: Installing impressive hardware with minimal content
- Impact: Underwhelming user experience; display appears empty; low engagement
- Prevention: Develop substantial initial content library before installation; establish ongoing content workflows; assign clear content management responsibility
Pitfall: Choosing Consumer-Grade Hardware
- Problem: Purchasing consumer TVs instead of commercial displays
- Impact: Premature hardware failure; warranty issues; inadequate brightness; poor reliability
- Prevention: Always specify commercial-grade displays rated for continuous operation
Pitfall: Inadequate Network Connectivity
- Problem: Assuming WiFi coverage is adequate without testing
- Impact: Update failures; slow performance; frustrating user experience
- Prevention: Test network connectivity at installation location before purchase; strongly prefer wired Ethernet
Pitfall: Poor Touch Experience
- Problem: Small buttons, complex navigation, frustrating interactions
- Impact: Visitors give up quickly; negative perception; low engagement
- Prevention: Prioritize touch-optimized interface design; test with actual users before finalizing; implement clear navigation
Pitfall: No Maintenance Plan
- Problem: Assuming system requires no ongoing attention
- Impact: Dirty screens; outdated content; technical problems ignored; declining engagement
- Prevention: Establish clear maintenance schedule; assign responsibility; budget for ongoing maintenance
Pitfall: Ignoring Accessibility
- Problem: Installing displays too high or with inaccessible interfaces
- Impact: Excluding wheelchair users and visitors with disabilities; potential compliance violations
- Prevention: Follow ADA guidelines; consider diverse user needs during planning
Pitfall: Content Becomes Stale
- Problem: Great initial launch but no content updates
- Impact: Declining interest; missed recognition opportunities; display loses relevance
- Prevention: Establish regular update workflows; assign responsibility; create content calendar; train multiple content managers
Future-Proofing Your Investment
Technology evolves rapidly. Plan for longevity:
Build-in Upgrade Paths
Modular Components:
- Separate computer from display enabling computer upgrades without replacing expensive screens
- Choose software platforms with regular updates and improvements
- Select standard mounting solutions compatible with future hardware
- Use standard interfaces (HDMI, USB, Ethernet) rather than proprietary connections
Scalable Content Strategy:
- Organize content in flexible structures supporting future reorganization
- Use metadata and tagging enabling multiple navigation approaches
- Build content library that grows over time rather than fixed structure
- Maintain high-quality source files enabling future format changes
Stay Informed on Technology Trends
Emerging Display Technologies:
- Higher resolution displays (8K becoming more affordable)
- MicroLED displays with superior brightness and longevity
- Transparent displays creating unique visual effects
- Larger format displays at lower costs
Software Advancements:
- AI-powered content organization and recommendations
- Enhanced personalization based on user interaction history
- Improved analytics and insights
- Voice interaction and natural language search
- Integration with virtual reality and augmented reality
Recognition Trends: Following future trends in digital recognition helps anticipate evolving expectations and capabilities.
Conclusion: Transform Recognition at Your School
Setting up a touchscreen electronic trophy case kiosk represents a significant upgrade in how schools celebrate achievements, preserve history, and engage communities. While the process involves careful planning, appropriate investment, and ongoing commitment, schools that follow systematic implementation approaches consistently report tremendous satisfaction with results.
The transformation from static glass cases containing a limited selection of physical trophies to dynamic interactive displays showcasing unlimited achievements with photos, videos, and rich context creates fundamentally different experiences. Students explore school athletic history discovering connections to traditions. Visitors engage with content for several minutes rather than brief glances. Alumni reconnect with their own achievements and teammates. Current athletes feel inspired by those who came before.
Beyond engagement benefits, electronic trophy cases solve practical challenges schools face: eliminating space limitations, simplifying updates, reducing maintenance burden, and preserving historical materials that might otherwise deteriorate.
Success requires attention to each implementation phase—from thorough planning and appropriate hardware selection through thoughtful content development and consistent maintenance. Schools that treat their electronic trophy case as a living recognition system rather than a one-time installation project realize the greatest long-term value.
Whether you’re just beginning to explore this technology or actively planning implementation, solutions like Rocket Alumni Solutions provide purpose-built platforms designed specifically for schools, combining intuitive software, proven implementation processes, and ongoing support that ensures successful outcomes.
Your school’s achievements deserve recognition that matches their significance. A well-implemented touchscreen electronic trophy case kiosk provides that recognition while creating engaging experiences that celebrate excellence, preserve history, and build lasting connections to your school’s traditions.