Handling a retired championship jersey is not the same as removing a framed photograph from a wall, and neither is the same as preparing a championship plaque for a traveling loan exhibition. School halls of fame and athletic archives hold objects made from vastly different materials — metals, textiles, photographic emulsions, paper stock — each with its own failure modes when subjected to oils, humidity, light, or mechanical stress. Athletic memorabilia handling guidelines give staff a consistent set of procedures that reduce preventable damage, support accurate recordkeeping, and ensure that artifacts remain in presentable condition for decades of exhibition, scanning, loan, and storage.
This guide is written for school administrators, athletic directors, hall-of-fame committees, archives staff, facilities managers, and booster-club leaders who are responsible for managing physical recognition collections. It covers the full handling life cycle — from initial retrieval through exhibition, digitization, outgoing loan, and return to storage — using procedures that are practical for schools operating without dedicated museum staff.
What these athletic memorabilia handling guidelines cover:
- Quick-reference do-and-don’t table — a snapshot of the most critical handling rules across all artifact types
- Core handling principles — eight numbered steps that apply before touching any object
- Artifact-type procedures — specific steps for jerseys, trophies, plaques, photographs, and programs
- Exhibition preparation — numbered steps for moving objects into and out of display cases
- Scanning and digitization — safe procedures for creating digital records without damaging originals
- Loan procedures — documentation and packing protocols for artifacts leaving school custody
- Long-term storage — environment, container, and labeling guidelines
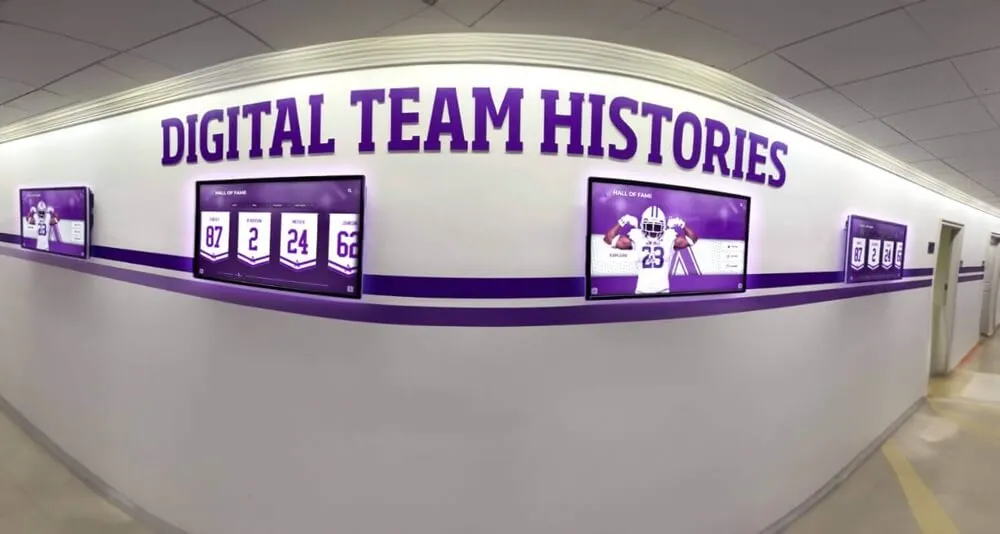
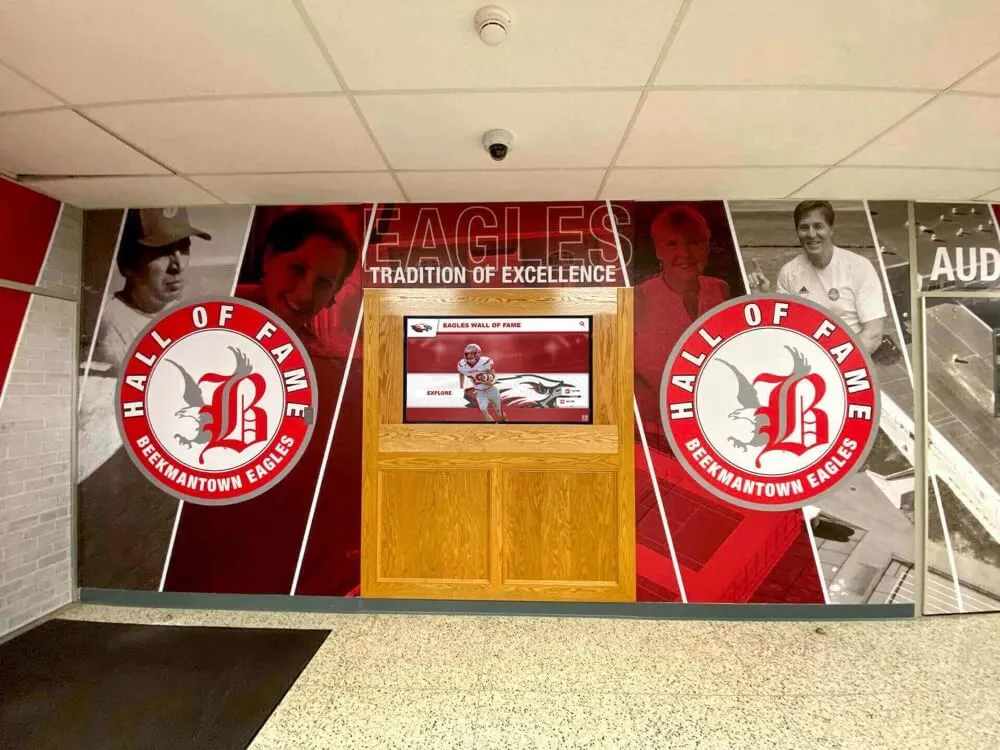
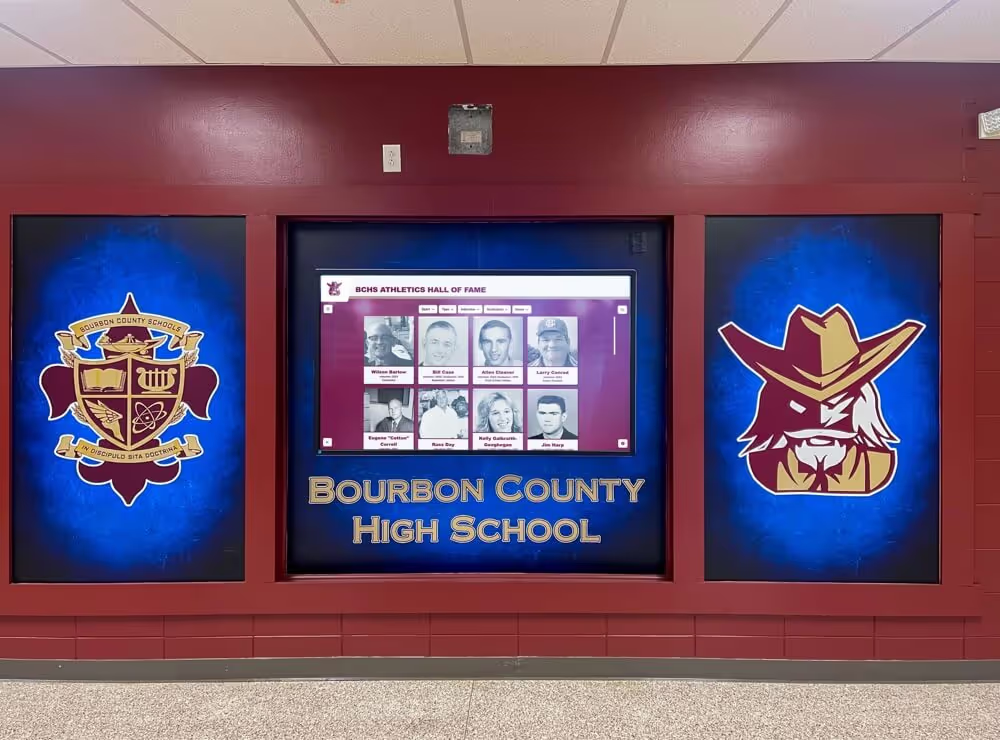
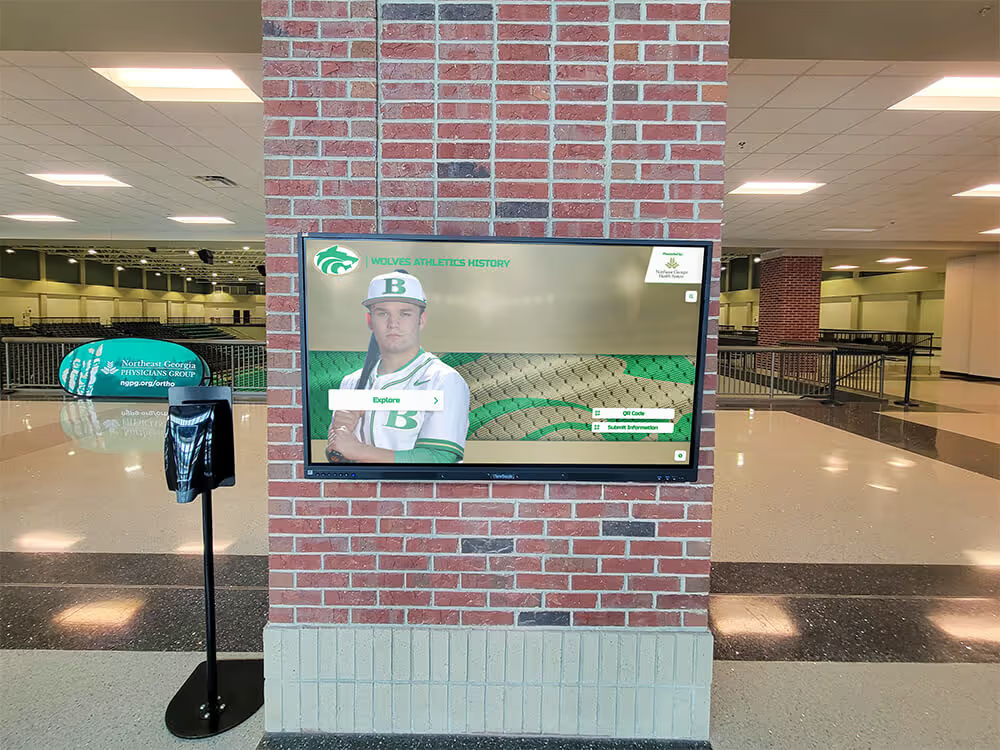
- Connecting physical artifacts to digital displays — how consistent handling supports richer digital records
Procedures in this guide reflect broadly accepted collections care principles. For artifacts of significant age, fragility, or monetary value, consulting a professional conservator before handling is appropriate; this guide does not substitute for that expertise.
Why Handling Procedures Matter for School Recognition Collections
A school’s recognition collection contains objects that exist nowhere else. The 1972 state championship trophy, the original game-worn jersey donated by a coach who passed away two decades ago, the only surviving team photograph from a program’s founding decade — none of these can be replaced through purchase or reproduction. When they are damaged by careless handling, the loss is permanent regardless of the care applied afterward.
Damage from handling is also cumulative and often invisible until it becomes irreversible. The skin oils transferred to a photograph’s surface during one brief contact may not cause visible deterioration for years, but once the chemical process begins, it cannot be halted without professional intervention. Textile fibers stressed by repeated folding weaken progressively. Trophy figures loosened by incorrect lifting fail during the next handling. Building handling awareness before damage occurs is categorically easier than recovering from damage after the fact.
For schools building or refreshing athletic hall of fame programs, handling quality also directly affects the digital record. Photographs and scans taken from well-maintained originals produce sharper, more complete images for digital archives, digital recognition displays, and inductee profile databases than those taken from deteriorated or surface-damaged originals. Consistent handling procedures are an investment in the quality of the digital record that will outlast the physical object itself.
Quick-Reference: Athletic Memorabilia Do and Don’t
The table below summarizes the most critical handling rules across artifact categories. Detailed procedures for each category follow in subsequent sections.
| Do | Don’t |
|---|---|
| Wear clean white cotton or powder-free nitrile gloves when handling photographs, paper, and untreated metal surfaces | Touch photograph surfaces, trophies, or untreated metals with bare hands — skin oils cause staining and corrosion |
| Support three-dimensional objects from the base with both hands | Lift trophies, plaques, or statues by their figures, finials, handles, or decorative elements |
| Store flat paper items (photographs, programs) in acid-free folders inside acid-free boxes | Store paper or photographic materials in regular manila folders, cardboard boxes, or plastic bags that trap humidity |
| Lay folded jerseys and textile items flat in acid-free tissue between layers | Stack multiple folded textiles without padding, or fold along the same crease lines every time |
| Photograph each artifact in its current condition before moving it | Skip condition documentation, even for routine relocations |
| Write identification labels on acid-free tags with soft pencil and attach them to storage containers, not to artifacts | Write directly on any artifact surface or attach adhesive labels, tape, or stickers to objects |
| Clean display cases before placing items using a dry lint-free cloth | Spray cleaners or polishes directly onto cases when artifacts are inside |
| Log every movement of each artifact — who moved it, where it went, and when | Move artifacts without updating the collection’s location record |
| Transport artifacts one at a time unless packing in purpose-built mount systems | Carry multiple objects simultaneously or stack items during transport |
| Store and display items away from direct sunlight and fluorescent light sources | Place photographic materials, textiles, or wooden items in direct window light |

Core Handling Principles: 8 Steps Before Touching Any Artifact
These eight steps apply regardless of artifact type. Establish them as a standard pre-handling checklist for any staff member working with the collection.
Review the artifact’s record first. Before physically handling any item, check the collection record for existing condition notes, known fragility concerns, prior damage, or special handling instructions. Do not assume an item is stable because it looks stable.
Wash or glove up. Wash hands thoroughly with soap before putting on gloves, or put on powder-free nitrile gloves for metals and ceramics and clean white cotton gloves for textiles. For photographs and paper, nitrile or cotton both work; choose based on task requirements. Replace gloves if they tear, become damp, or contact a cleaning agent.
Clear and prepare the work surface. Use a clean, padded surface — a foam pad covered with clean muslin or acid-free tissue works well. Remove any sharp objects, food, beverages, or unstable items from the area before the artifact arrives. Never work over an uncarpeted hard floor where a dropped item would impact directly.
Inspect the artifact before moving it. Examine the item from all angles for loose components, previous repairs, active mold, pest activity, or structural instability. If any of these conditions are present, do not proceed with normal handling — document the condition and consult with an appropriate resource before continuing.
Photograph the current condition. Take photographs from multiple angles before moving the artifact, even for routine moves between storage areas. This photograph serves as a condition baseline and supports any future insurance or conservation discussion.
Plan the path before lifting. Know where the object is going, how you will set it down, and what obstacles exist along the route before you pick it up. Surprises during transport — a door that must be opened, a step that must be navigated — cause dropping incidents.
Move one artifact at a time. Regardless of how efficient it might seem to carry multiple items at once, single-item transport eliminates the collision and stacking risks that damage objects in transit.
Update the collection record immediately after the move. Record the artifact’s new location, the date, and the name of the staff member who performed the move. A collection log is only useful when it reflects current reality.
Handling Jerseys and Textile Artifacts
Retired jerseys, letter jackets, warm-up tops, and other textile artifacts are among the most emotionally significant items in a school recognition collection and among the most vulnerable to mishandling. Fabric fibers weaken under mechanical stress, dyes can be affected by skin oils and light, and embellishments — sewn numbers, patches, iron-on lettering — may be partially detached and easily lost.
Before handling a jersey or textile artifact:
- Check for loose threads, detached lettering, compromised seams, or active soiling. Do not attempt to re-attach loose elements without guidance; document their condition instead.
- Put on clean white cotton gloves. Cotton provides a gentler contact surface for textiles than nitrile.
- Identify the most structurally sound way to support the item. Heavy letter jackets should be lifted from the body of the garment, not from the collar or a single sleeve.
Moving and storing textile artifacts:
- For flat storage, lay the item face-up on a clean acid-free tissue sheet. Fold loosely along lines that do not follow existing fold creases, placing acid-free tissue between each fold to prevent abrasion and to reduce crease depth. Never use rubber bands or metal clips on textiles.
- For hanging display, use padded hangers sized to the garment. Padded hangers distribute weight across the shoulder area rather than concentrating stress at a single point. Hang jerseys in a controlled environment away from direct light.
- Change fold orientation each time a stored garment is refolded — folding along the same crease repeatedly weakens fibers at that point progressively.
- Before exhibiting in a display case, confirm the case is clean and dry. Residual cleaning chemicals or moisture in a sealed case can transfer to textile surfaces.

Handling Trophies, Plaques, and Hardware
Trophies, plaques, and championship hardware are generally the most durable items in a recognition collection, but they carry specific handling risks that routine carelessness exploits. Metal figures, applied lettering, and decorative elements are often attached with adhesives or light hardware that weakens over time. Bare-hand contact with uncoated metal surfaces, including trophy cups and plaque backing plates, leaves corrosive fingerprint residue.
Trophies:
- Lift all trophies from the base — the widest, most structurally stable point. Never lift by the figure, cup, wing, or any projecting element.
- Check for wobble before lifting. A figure or cup that rocks on its mounting post may be near failure; do not transport it unsecured. Set it on a padded surface and examine the attachment point before proceeding.
- Wear powder-free nitrile gloves when handling uncoated metal surfaces. Cotton gloves are less appropriate here because their texture can catch on rough metal and dislodge surface elements.
- Transport large floor trophies on a hand truck or cart with foam padding between the trophy and the cart surface. Do not tip large trophies past 30 degrees from vertical during transport — internal mounting hardware was not designed for horizontal stress.
- When placing a trophy in a display case, set it squarely on a padded surface within the case. Confirm it cannot tip before closing the case.
Plaques:
- Lift wall-mounted plaques from the mounting hardware, not from applied text plates or engraved areas. Applied nameplate hardware is often the least structurally secure component.
- When removing a plaque from a wall, have a second person support the weight while the first removes the mounting hardware. Dropped plaques frequently sustain damage to applied text plates and corner areas.
- Lay plaques face-up on padded surfaces during any floor-level work. Never stack plaques face-to-face without padding between them.
Handling Photographs, Programs, and Paper Records
Photographic prints and paper records — programs, newspaper clippings, award citations, score sheets, correspondence — are the most fragile artifact category in a school recognition collection. They are damaged by light, humidity fluctuations, acidic containers, mechanical abrasion, and direct contact. They are also frequently the hardest items to replace because originals may not exist elsewhere.
Photographic prints:
- Wear clean white cotton or powder-free nitrile gloves for all photograph handling. Skin oils begin transferring to photographic emulsions on first contact and cannot be fully removed afterward.
- Handle photographs by the edges only, even when gloved. Avoid touching the image surface.
- Never write on the back of a photograph with ballpoint pen — the pressure impression transfers to the emulsion surface. Use a soft lead pencil if writing on verso is necessary, and write lightly at the margin, not at the center.
- Store photographs individually in clear polyester or polypropylene sleeves inside acid-free folders. Do not use PVC sleeves — PVC off-gasses compounds that degrade photographic emulsions.
- Store photograph collections in acid-free boxes in a stable environment. Temperature and relative humidity fluctuations cause more cumulative damage than any single high or low reading.
Paper records and programs:
- Fold and unfold old documents as infrequently as possible. If a document has a historic fold, support it along the fold when opening — forcing a brittle fold open flat risks cracking and tearing.
- Store programs and clippings flat in acid-free folders — not standing on their edges, which causes slumping and folding stress.
- Do not use rubber bands, metal paper clips, or adhesive notes on any archival paper items. Rubber bands cause indentation and chemical transfer. Metal clips leave rust stains. Adhesive notes leave residue.
- Interleave folded items with acid-free tissue to isolate acidic newsprint clippings from other paper items — newsprint is highly acidic and can damage adjacent materials during extended contact.
For schools developing a broader recognition records strategy, reviewing how end-of-semester honor roll digital displays approach the intersection of paper records and digital archives provides useful context for integrating physical documents into ongoing recognition programs.
Preparing Artifacts for Exhibition and Display
Moving artifacts into and out of display cases introduces risk at every step. The numbered procedure below applies to placing items in trophy cases, hall-of-fame display walls, and any enclosed school display environment.
Before placing an artifact in a display case:
- Clean the interior of the display case before any artifact enters it. Use a dry lint-free cloth for glass and interior surfaces. If a liquid cleaner is necessary, apply it to the cloth — not to the case interior — and allow the interior to fully dry before placing any artifact. Residual cleaning chemicals in an enclosed case can damage artifacts.
- Confirm that mounting hardware, risers, or stands inside the case are secure and appropriate for the artifact’s weight. A riser that tips under load during display will cause damage that careful handling did not.
- Inspect the artifact one final time immediately before placement. Confirm no new condition issues appeared during transport from storage.
- Place the artifact carefully and confirm it is stable before releasing it. Large items may require a second person inside or adjacent to the case.
- Photograph the artifact in its displayed position and update the collection record to show its current location and display start date.
When removing an artifact from a display case:
- Review the collection record before opening the case to confirm which artifact is being removed and its condition at the time of last placement.
- Photograph the artifact in its displayed position before removing it.
- Reverse the placement steps: stabilize, lift from the base, carry one at a time to a prepared work surface.
- Complete a condition inspection upon removal and document any changes from the condition at placement.
- Update the collection record to show the artifact’s removal date and new location.

For athletic directors considering how the physical display environment and collections management budget interact, the athletic director budget guide for tight budgets addresses prioritization frameworks that are directly relevant to collections care resource decisions.
Scanning and Digitization Procedures
Digitizing physical artifacts creates preservation copies that can be used in digital recognition displays, inductee databases, and online archives without requiring repeated handling of originals. Done correctly, scanning extends the useful life of originals by reducing the frequency of physical access. Done incorrectly, it can damage originals through improper handling during the scanning session.
General principles for digitization sessions:
- Never place a photographic print, program, or paper document directly on an unclean flatbed scanner bed. Clean the scanner glass before each session with a lint-free cloth.
- Do not press down on the scanner lid when scanning bound items — program booklets, scrapbooks, and bound volumes are damaged by the mechanical stress of forced flattening. Use an overhead or book scanner for bound items, or scan facing pages open to a natural resting angle.
- For three-dimensional objects — trophies, medals, hardware — use a photographic approach rather than a flatbed scanner. Place the object on a neutral background with controlled, diffused lighting and photograph with a high-resolution camera. Direct flash creates glare on metal and ceramic surfaces; diffused or natural light produces more useful results.
- Capture photographic prints at no less than 600 dots per inch to preserve detail for future reproduction. Documents intended only for display or online use may be captured at 300 DPI, but higher resolution originals support later uses the school may not anticipate today.
- Name digital files using a consistent convention that links each file to its collection record entry. A filename that includes a unique artifact identifier, creation year, and format — for example,
HOF-0047-1985-scan.tif— is interpretable without the collection record and survives reorganization better than generic names likescan001.jpg. - Save master digitization files in TIFF format, which supports lossless compression and wide archival support. Create separate JPEG derivatives for use in displays and online archives — working from derivatives preserves masters for future high-quality reproduction.
- After scanning, return the artifact to its storage location, update the collection record to reflect that a digital record now exists, and log the scan date and resolution.
Schools that connect digitized artifact records to interactive recognition displays — where visitors can view original photographs and archival documents alongside inductee profiles — benefit from this approach immediately. Understanding how AP scholar digital recognition programs structure digital records for searchable display provides a parallel example of how schools organize archival digital content for recognition contexts.
Loaning Artifacts to Other Schools or Organizations
Athletic artifacts are occasionally loaned to alumni groups, local museums, sister schools, or district-level events. A loan sends an artifact outside school custody, which requires more rigorous documentation and packing than internal transfers.
Establishing a loan framework:
Before any artifact leaves school custody, the school should have a written loan agreement covering the loan duration, the permitted uses of the artifact (display only, no reproduction), the borrower’s responsibility for condition during the loan period, insurance or liability expectations, and return procedures. The loan agreement does not need to be a lengthy legal document, but it should be signed by an authorized representative of both parties.
For booster clubs or parent-led organizations handling loan requests on behalf of the school, the booster club purchasing policy framework addresses the authorization and documentation expectations that align with school administrative requirements, which are equally applicable to loan custody decisions.
Packing artifacts for outgoing loans:
- Complete a full condition assessment and photographic record before packing begins. This documentation establishes the pre-loan condition baseline used for comparison upon return.
- Wrap each artifact individually using appropriate materials: acid-free tissue for textiles and paper items, foam sheeting for three-dimensional objects. Do not use newspaper as wrapping material — its high acidity transfers to artifact surfaces.
- Place wrapped items in rigid containers with at least two inches of cushioning material on all sides. For metal or ceramic objects, ensure the item cannot shift within the container during transport.
- Label the exterior of each container with the artifact’s identifier, the destination, and the loan return date.
- Provide the borrower with a written condition report and handling instructions specific to each loaned artifact.
- Complete a receiving inspection upon return. Compare the artifact’s condition at return against the pre-loan photograph record, note any changes, and update the collection record with the return date and condition notes.
Long-Term Storage Guidelines
Artifacts not currently on exhibition require storage conditions that minimize deterioration. Most school athletic offices and storage rooms are not purpose-built archive environments, but several practical measures bring common storage spaces closer to appropriate conditions.
Environment:
- Target a storage environment with stable relative humidity in the 40–55% range and stable temperature in the 60–70°F range. Fluctuation is more damaging than a constant moderate reading outside this range.
- Avoid storing artifacts in basements subject to flooding, attic spaces that experience extreme heat, or locations adjacent to exterior walls with known moisture issues.
- Keep storage areas away from water pipes whenever possible, and do not store collections directly on the floor where flooding would immediately affect them.
- Minimize light exposure in storage areas. Both ultraviolet and visible light degrade textiles, photographic emulsions, and paper even when exposure is indirect and accumulates slowly.
Containers and shelving:
- Store paper and photographic materials in acid-free boxes and folders. Acid migrates from standard cardboard and paper products into stored items during extended contact.
- Store textiles flat in acid-free boxes with acid-free tissue padding. Do not pack tightly — fabric requires airflow and should not be compressed.
- Store three-dimensional objects on padded, stable shelving where they cannot tip or contact adjacent objects. Foam padding protects against vibration damage from nearby mechanical equipment.
- Label all storage containers on the exterior with a catalog number that corresponds to the collection record. Do not label artifacts directly.
Pest and environmental monitoring:
- Inspect storage areas quarterly for signs of pest activity — insect casings, frass, or rodent evidence near stored items. Textiles and paper are particularly attractive to insects and rodents.
- Address any evidence of mold or mildew immediately by removing affected items to an isolated area and seeking guidance from a conservator before attempting cleaning. Do not use household cleaners on artifact surfaces.
Connecting Physical Artifacts to Digital Records and Displays
Athletic memorabilia handling guidelines address physical procedures, but their value extends directly into the quality of a school’s digital recognition infrastructure. Every handling event — exhibition, scanning, loan, storage — is an opportunity to enrich the digital record attached to that artifact.
A comprehensive collection record for each artifact includes not only the physical condition and location data discussed throughout this guide, but also the digitized images, associated inductee information, historical context, and metadata that make digital recognition displays rich and searchable. Schools that maintain consistent handling documentation find that building inductee profiles for digital displays — incorporating verified photographs, accurate dates, and artifact-specific details — is substantially easier than schools that treat physical and digital records as separate systems.
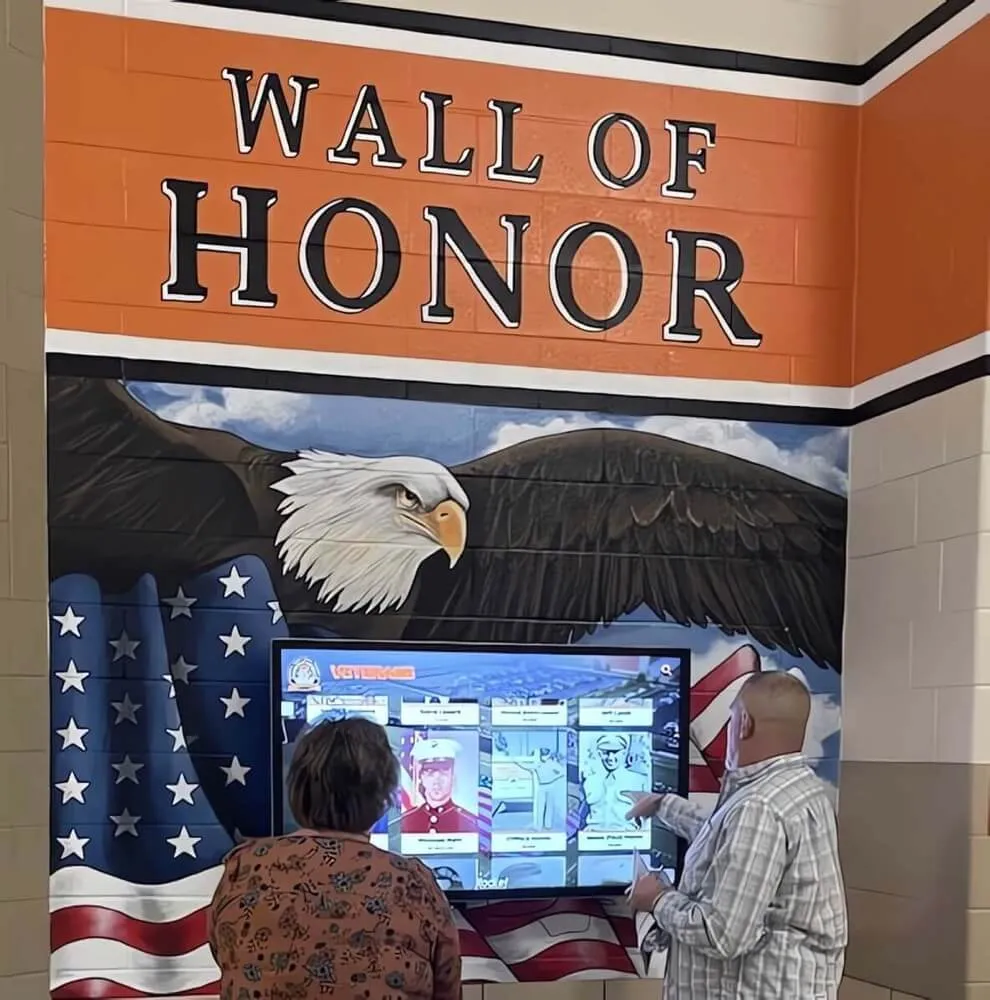
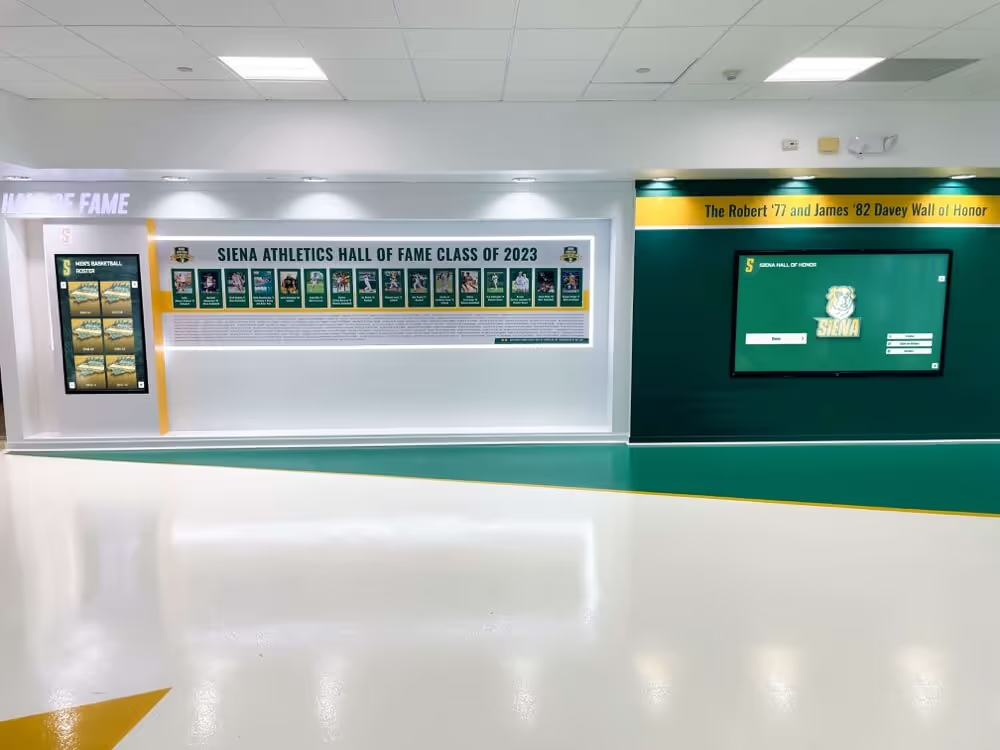
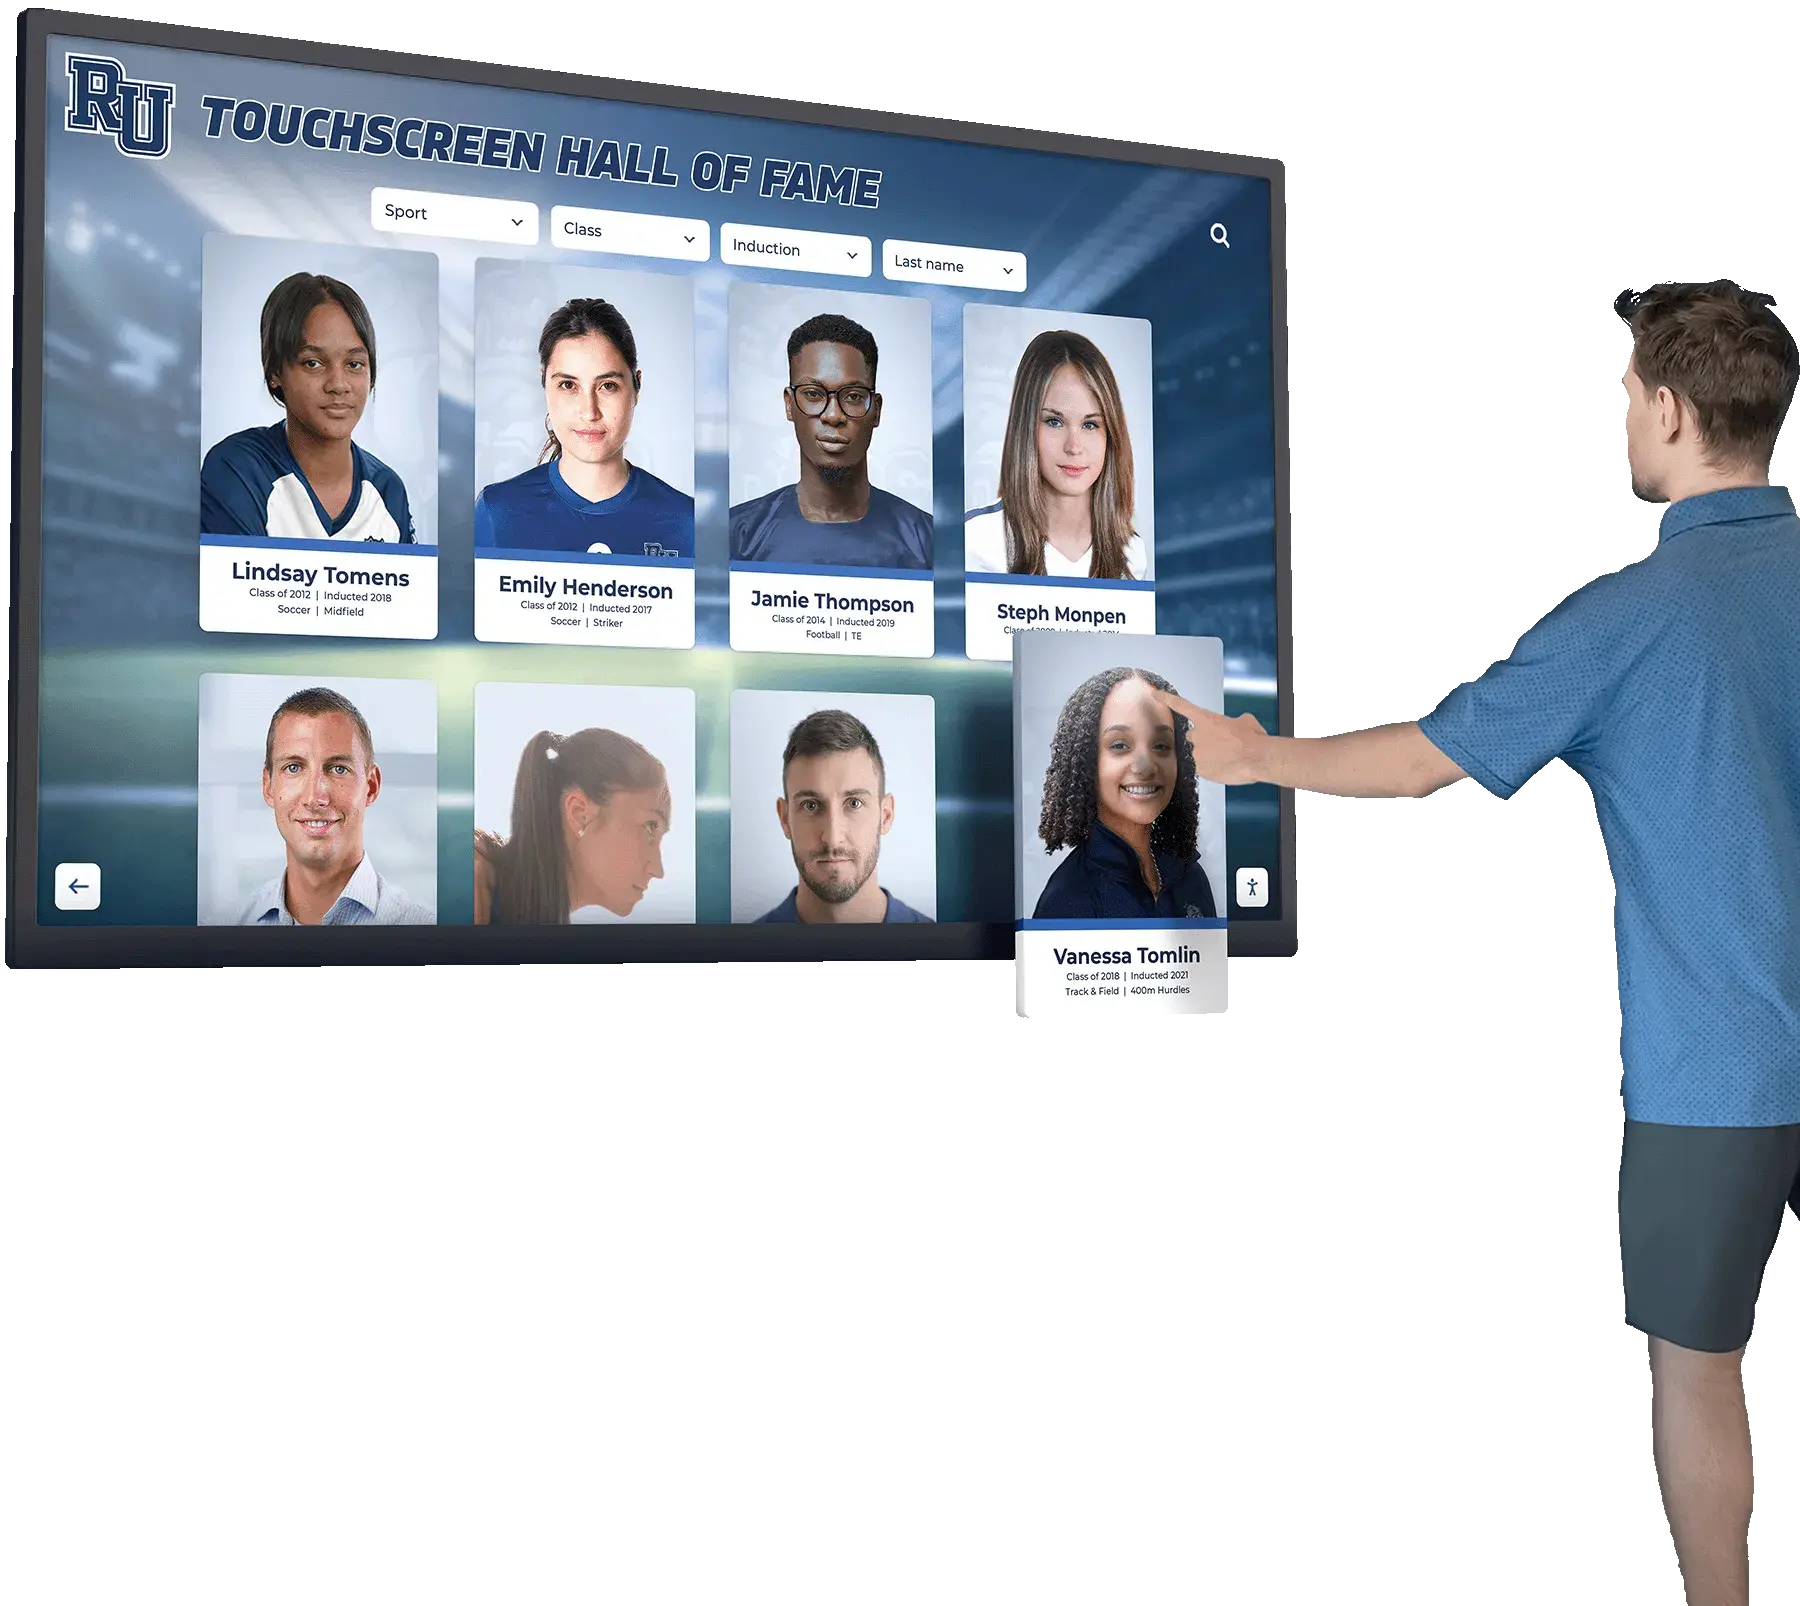
Digital recognition displays that incorporate archival photographs, scanned programs, and artifact imagery give alumni visitors a more complete encounter with the school’s athletic history than displays that rely only on text profiles and contemporary photographs. The handling discipline that produces well-preserved originals and high-quality scans is the upstream work that makes that depth possible.
Alumni mentorship programming and recognition also benefits from well-organized artifact and inductee records. Schools that connect athletic archives to ongoing engagement programs — providing inductees and their families with access to digitized artifacts tied to their recognition — find that alumni mentorship programs and recognition systems reinforce each other naturally when the underlying records are organized and accessible.
For schools evaluating digital recognition platforms that can integrate archival content — scanned photographs, historical documents, artifact imagery — into interactive hall-of-fame displays, scheduling a demonstration is a practical next step.
See How Schools Connect Physical Archives to Digital Recognition
Rocket Alumni Solutions builds interactive digital halls of fame that bring archival photographs, inductee profiles, and athletic history together in one searchable display. Schools across the country use Rocket-powered platforms to make decades of recognition collection work visible and engaging for current students, alumni, and visitors.
Schedule a Free Demo
Frequently Asked Questions
What are athletic memorabilia handling guidelines?
Athletic memorabilia handling guidelines are written procedures that establish how staff should physically interact with a school’s recognition collection — trophies, jerseys, photographs, programs, plaques, and other artifacts — during exhibition, scanning, loan, and storage. They define which gloves to use, how to lift specific object types, how to pack for transport, and how to document each movement in the collection record.
Do I need special gloves to handle school trophies?
Powder-free nitrile gloves are appropriate for handling uncoated metal trophy surfaces. The oils from bare skin transfer to metal and can initiate corrosion on surfaces that will then require more effort to stabilize. For textile artifacts like jerseys, clean white cotton gloves are generally preferred because they are gentler against fabric fibers.
How should retired jerseys be stored when not on display?
Jerseys should be stored flat in acid-free boxes with acid-free tissue between fold layers, or hung on padded hangers in a controlled environment away from direct light. Avoid hanging on standard wire hangers, which create stress concentrations at the shoulder. Change the fold orientation each time a jersey is refolded to prevent progressive weakening along the same crease lines.
Can photographs be stored in plastic sleeves?
Yes, but only in archival-quality plastic — clear polyester (Mylar) or polypropylene sleeves. PVC plastic should never be used for photograph storage because it off-gasses compounds that degrade photographic emulsions. Even archival plastic sleeves benefit from storage in acid-free folders inside acid-free boxes.
What scanning resolution should we use for archive photographs?
Capture master scan files of photographic prints at 600 DPI minimum. Documents and programs intended for display or online use can be captured at 300 DPI, but 600 DPI masters support future uses — large-format printing, detailed research examination — that the school may not anticipate at the time of digitization. Save masters as TIFF files and create JPEG derivatives for active use in displays and databases.
How do we document an artifact before sending it on loan?
Complete a written condition assessment describing the artifact’s physical state, accompanied by clear photographs from multiple angles. Both the lending school and the borrower should sign a written loan agreement identifying the artifact, the loan duration, permitted uses, responsibility for condition, and return procedures. Upon the artifact’s return, repeat the condition inspection and compare against the pre-loan documentation.
What storage conditions are best for a school athletic archive?
Target stable relative humidity between 40 and 55 percent and stable temperature between 60 and 70 degrees Fahrenheit. Avoid locations subject to flooding, extreme temperature swings, direct sunlight, or proximity to water pipes. Store paper and textile items in acid-free containers; store three-dimensional objects on stable, padded shelving where they cannot contact adjacent items or tip during vibration events.
How often should we update the collection’s handling documentation?
Update location records every time an artifact moves, even within the storage area. Conduct a full condition review of the displayed collection at least annually — ideally at the start of each school year — and update storage condition records whenever environmental equipment is serviced or when storage furniture changes. Loan documentation should be completed for each individual loan event without exception.